Digital Wallet Configuration
Digital Wallets are a modern solution to the task of having to enter card details every time a consumer makes a transaction and have become common place in ecommerce environments such as shopping carts and payment links. This enhances convenience for customers while providing a secure and familiar checkout experience across different platforms and services.
SmarterPay have enabled Digital Wallets, such as ApplePay and GooglePay, with several Payment Gateways. This guide describes some of the additional configuration that is required to start taking advantage of these modern payment methods.
GooglePay
Prerequisites
To start using GooglePay you must have a 'Google Pay & Wallet Console' account and have your Business Profile verified. For these initial steps, it is recommended to read and follow the guide provided by Google here.
Once you have a business account verified you need to register the website you will be taking payments from. The following steps provided below assume that the payments will be coming from SmarterPay's out of the box ecommerce/payment link services; if your checkout is elsewhere you will need to provide your url and screenshots relating to that website.
1. Go to the Google Pay & Wallet Console and open the 'GooglePay API' from the menu.
2. Select the 'Add Website' button under the 'Integrate with your website' section.
3. Enter the top-level domain that will host the checkout:
SmarterPay Live: ecomv2.smarterpaycloud.com
SmarterPay UAT: uatecom.smarterpaycloud.com
4. Select 'Gateway' in the 'Integration Type' dropdown.
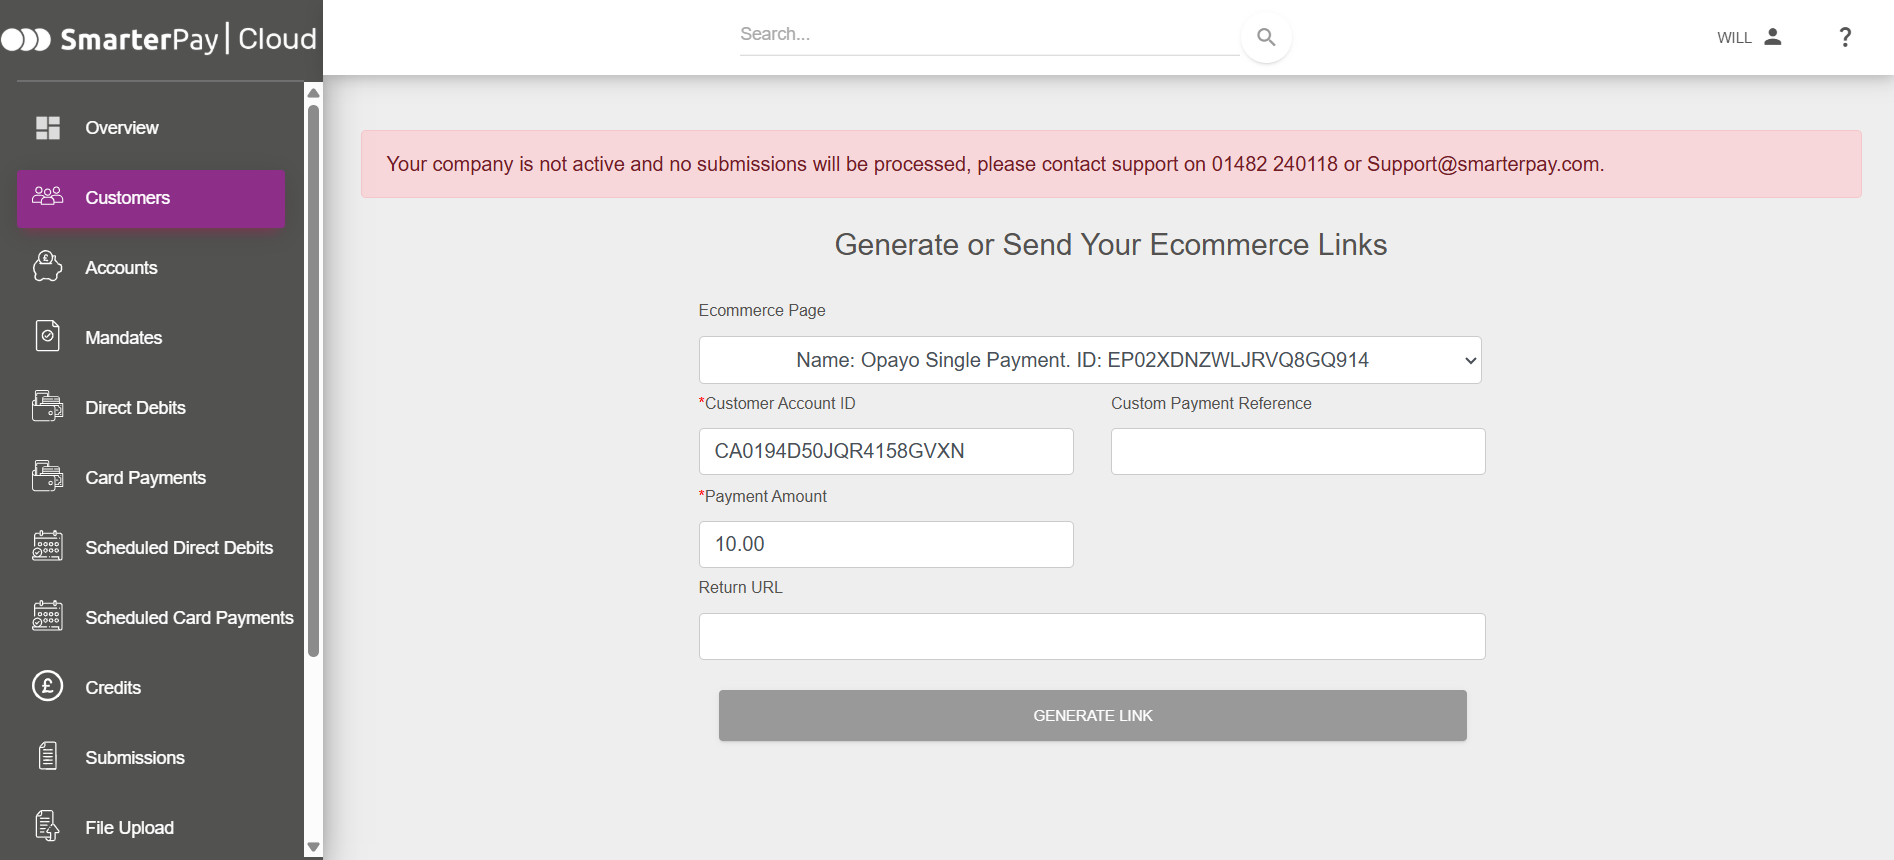
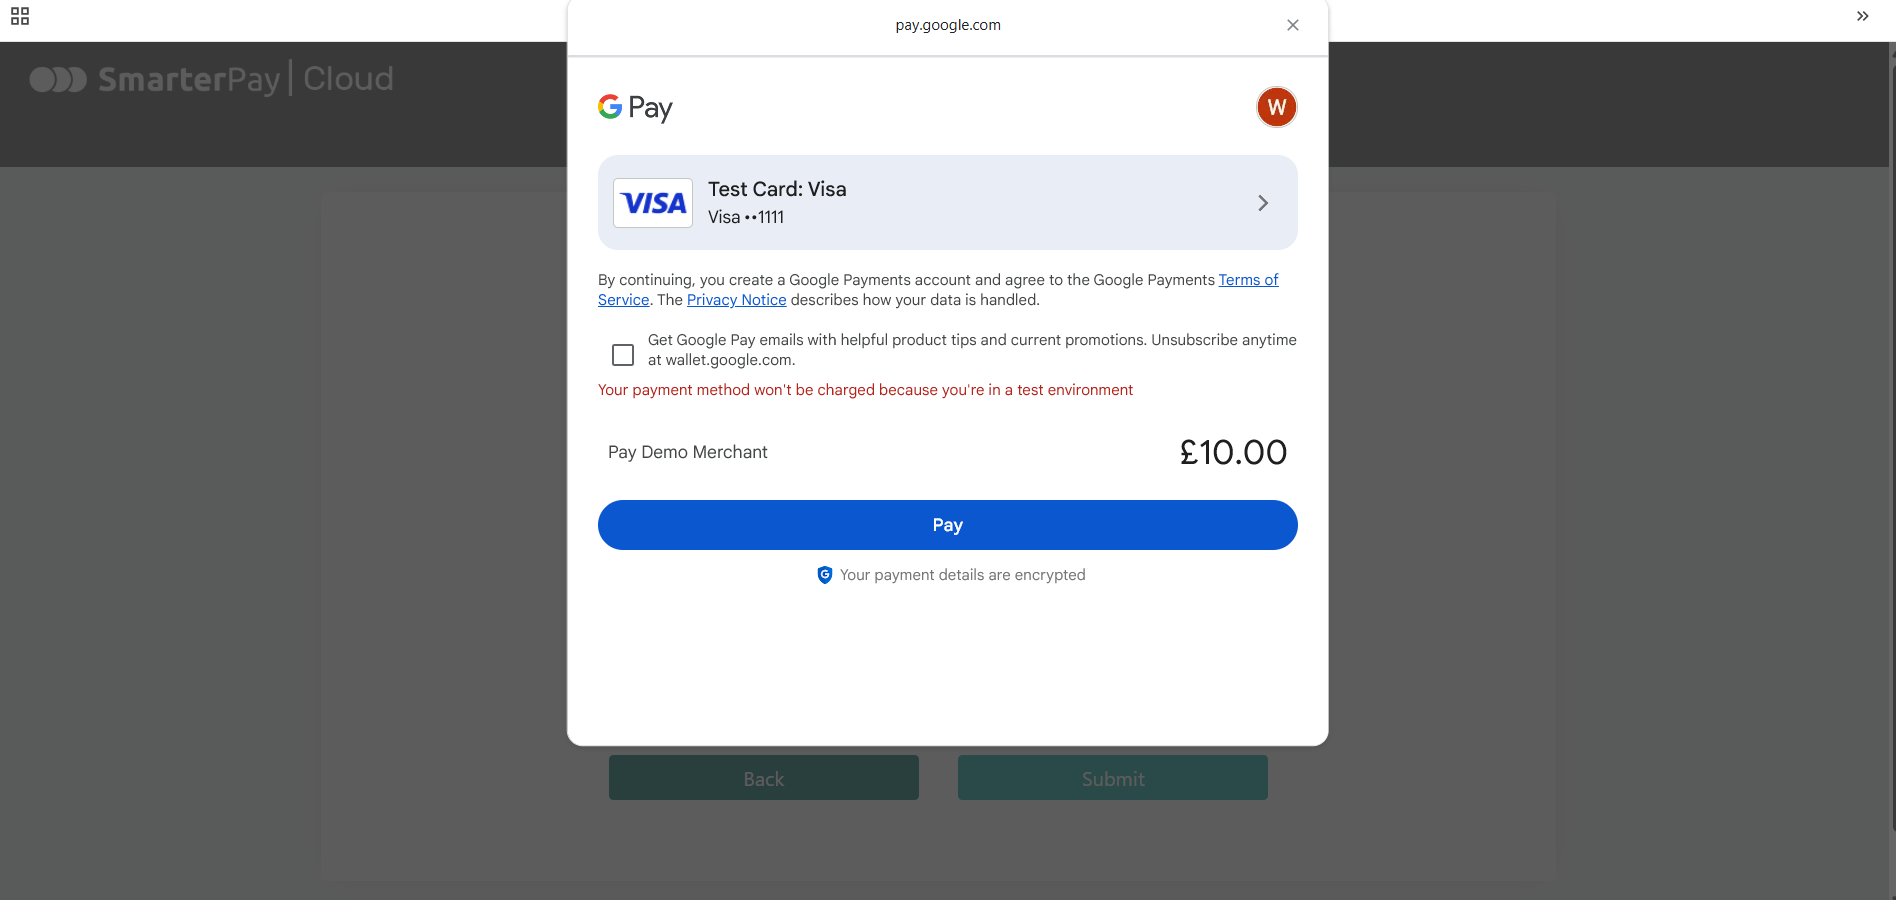
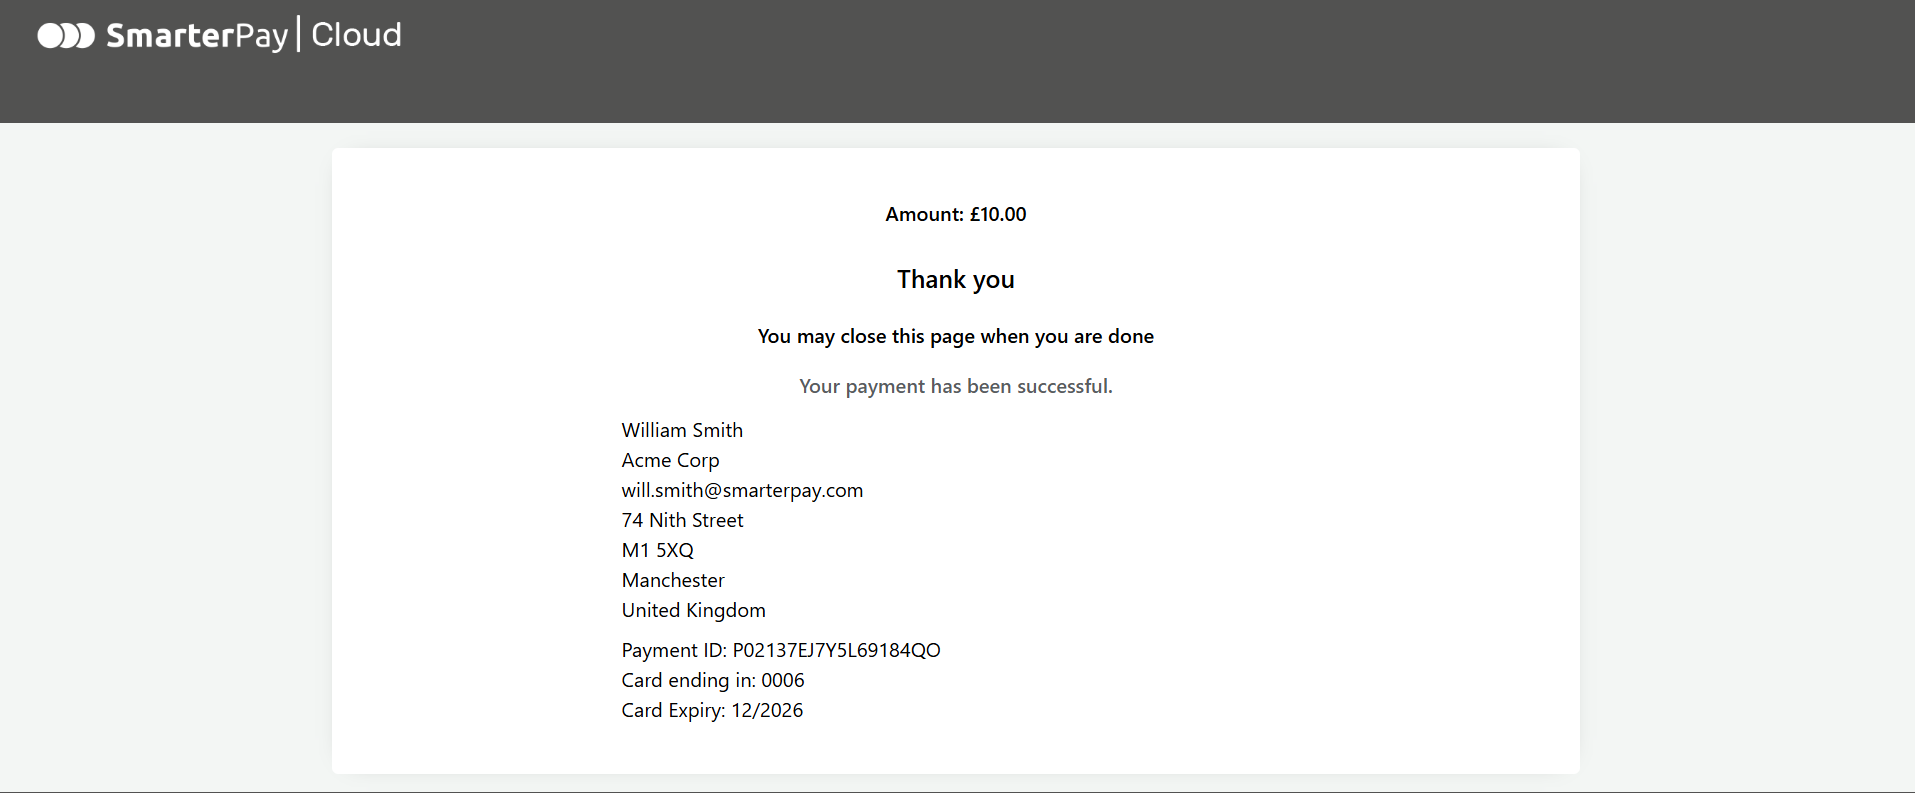
5. Finally you need to provide screenshots of each page of the checkout process. For SmarterPay out of the box solutions download and use the following screenshots:
Item selection
Pre-purchase screen
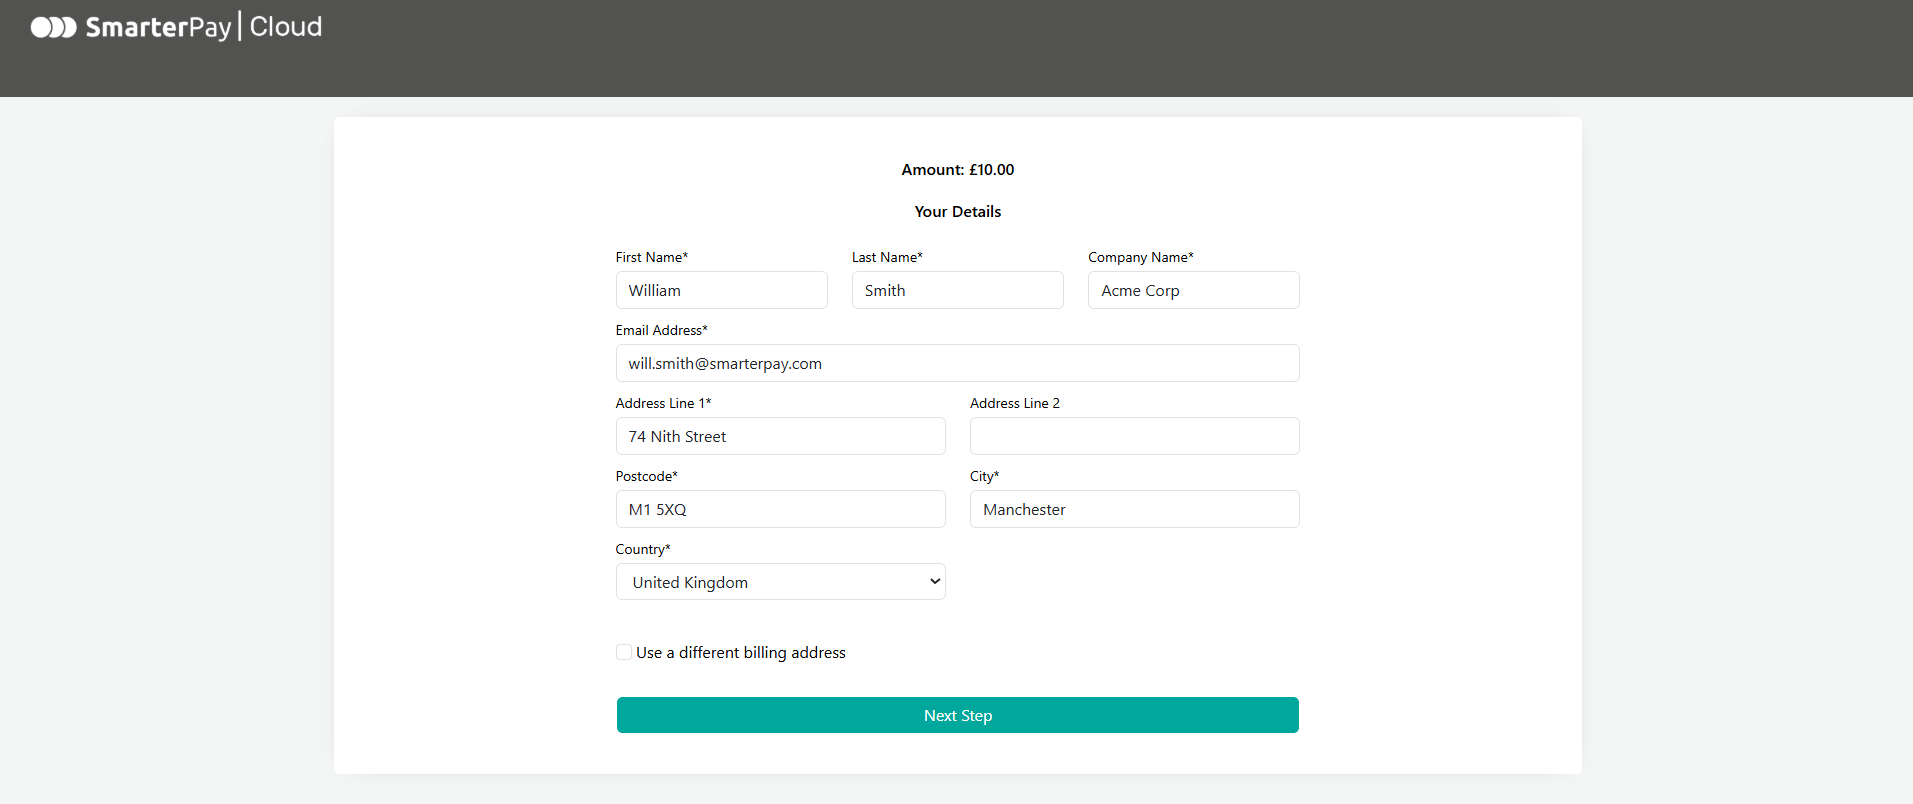
Payment method screen

Google Pay API payment screen
Post-purchase screen
6. Finally, press the 'Save' button and 'Submit for approval'.
Your website integration will have now been submitted to Google for verification. This may take a few days and Google may reach out to you to ask about your business and what your use case for GooglePay is. Once the integration is listed as 'Active' you can now consider configuration steps for your Payment Gateway.
Payment Gateway Setup
Opayo
Follow these steps to enable Google Pay:
- Log into MyOpayo as an administrative user.
- Navigate to the Settings tab and select 'Pay Methods' from the left sidebar.
- Select 'Add Google Pay'.
- Your Gateway Merchant ID will be displayed. You will need this later when configuring SmarterPay.
If the 'Use Google Pay' section is not present or disabled it is likely that Opayo has not enabled GooglePay for you account. Please get in touch with Opayo support and return to this guide once enabled.
SmarterPay Configuration
SmarterPay require a few small pieces of information to enable your chosen Digital Wallets on a 'Payment Gateway Profile'.
Please collect the information described below:
- GooglePay Merchant Name: The name you gave your business on the 'Google Pay & Wallet Console' account.
- GooglePay Merchant Id: The Google provided Id allocated to your business. This can be found on the 'Google Pay & Wallet Console' in the top right-hand corner of the screen. It should be a mixture of numbers and letters around 16 characters long.
- Opayo Merchant Id: After enabling GooglePay on the 'MyOpayo' portal you should have received a 'Gateway Merchant Id'. It should be located on the 'Pay Methods' page under the 'Use Google Pay' section.
ApplePay
Prerequisites
ApplePay requires each top-level domain used for payments to be verified to ensure that the merchant owns the domain. To do this you simply upload a small file to your webserver. Apple then checks that the file is present and therefore verifies that you have access to the webserver the domain is pointing to.
If you are only using SmarterPay's out of the box ecommerce/payment link services you will not need to worry as this step has already been completed by SmarterPay.
- Download the Domain Verification File
- Upload the file to the following path for each of the domain you want to take payments from. The URL should be: https://[DOMAIN_NAME]/.well-known/apple-developer-merchantid-domain-association
- Open the link to the Domain Verification File on your webserver in a browser to make sure it is publicly accessible.
Payment Gateway Setup
Opayo
Follow these steps to enable ApplePay:
- Log into MyOpayo as an administrative user.
- Navigate to the Settings tab and select 'Pay Methods' from the left sidebar.
- Select 'Add Apple Pay'.
- Select 'Configure Apple Pay'
- Choose the 'Opayo manages your certificate' option.
- Read and Accept the Terms & Conditions.
If the 'Use Apple Pay' section is not present or disabled it is likely that Opayo has not enabled ApplePay for you account. Please get in touch with Opayo support and return to this guide once enabled.
Now that ApplePay is enabled you need to add the top-level domains that will host the checkout:
- Select 'Configure Apple Pay'
- Enter the domain in the 'New Domain' input box and press 'Add'.
- For SmarterPay Live use: ecomv2.smarterpaycloud.com
- For SmarterPay UAT use: uatecom.smarterpaycloud.com
If an error is displayed such as 'There was an error registering your domain in Apple Pay.' it is likely that ApplePay could not find the 'Domain Verification File', please check that the steps in the 'Prerequisites' section of this guide have been followed correctly.
SmarterPay Configuration
SmarterPay require a few small pieces of information to enable your chosen Digital Wallets on a 'Payment Gateway Profile'.
Please collect the information described below:
- ApplePay Merchant Name: The Business Name you want to send to ApplePay when creating a payment request.