Installation
1.
Download the latest version of the application installer.
- Navigate to Settings → Import Profile and click on the “DOWNLOAD SMARTERPAY FILE UTILITY” button.
2.

Double click on the installer.
3.
If you get the “Windows protected you PC” dialogue:
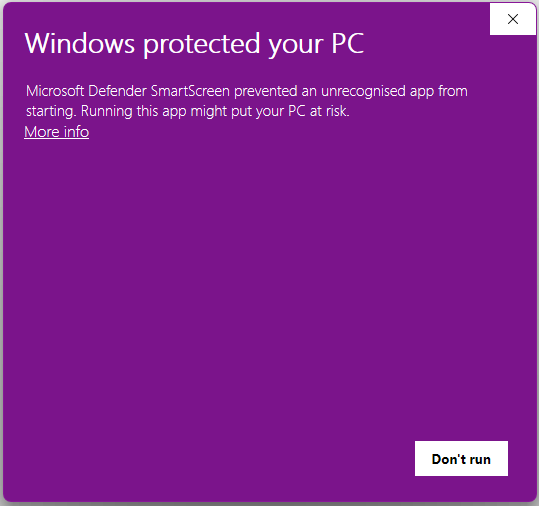
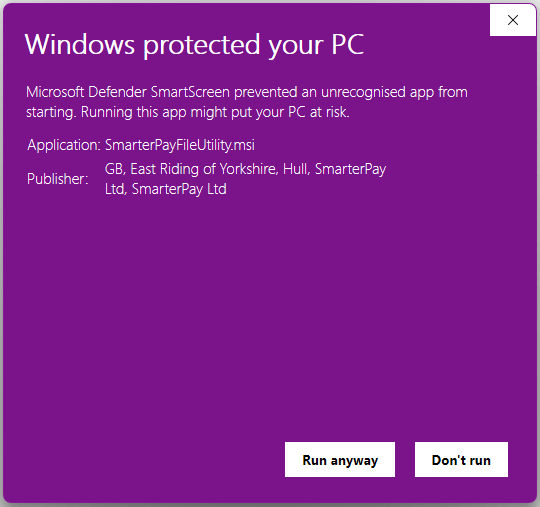
Click “More Info” and then click “Run anyway”.
4.
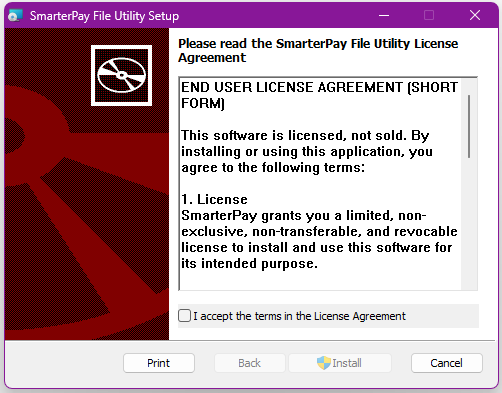
Read, and accept the License terms, and then click “Install”.
5.
If you get the “User Account Control” dialogue:
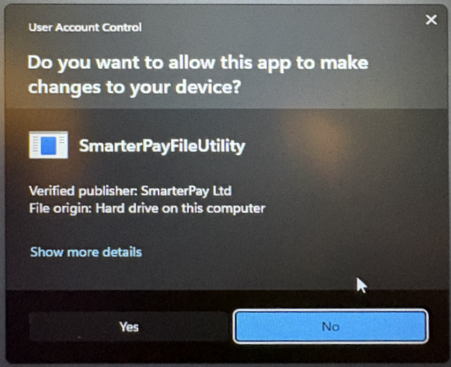
Click “Yes”.
6.
The installation will then continue:
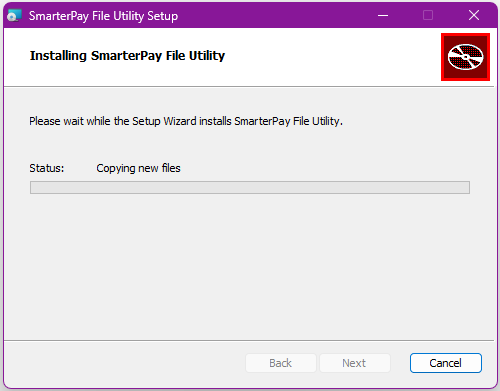
7.
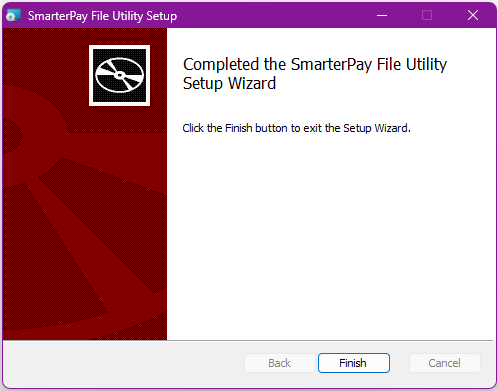
At the end of the installation click “Finish”.
The main components of the Companion App is the front end Graphical User Interface (GUI) Application, and the back end Service


After install you need to log into SmarterPay Cloud:
Login
1.
Click “Start” → “All” → “SmarterPay File Utility”
2.
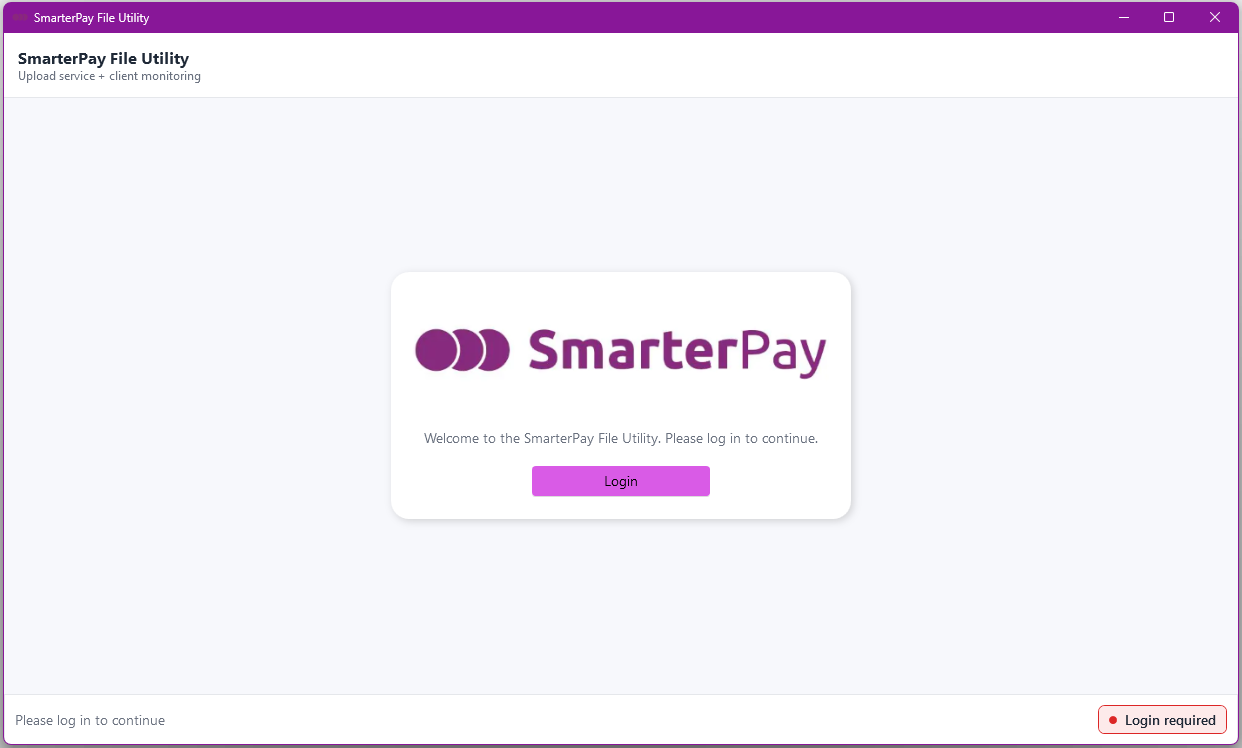
Click “Login”
3.
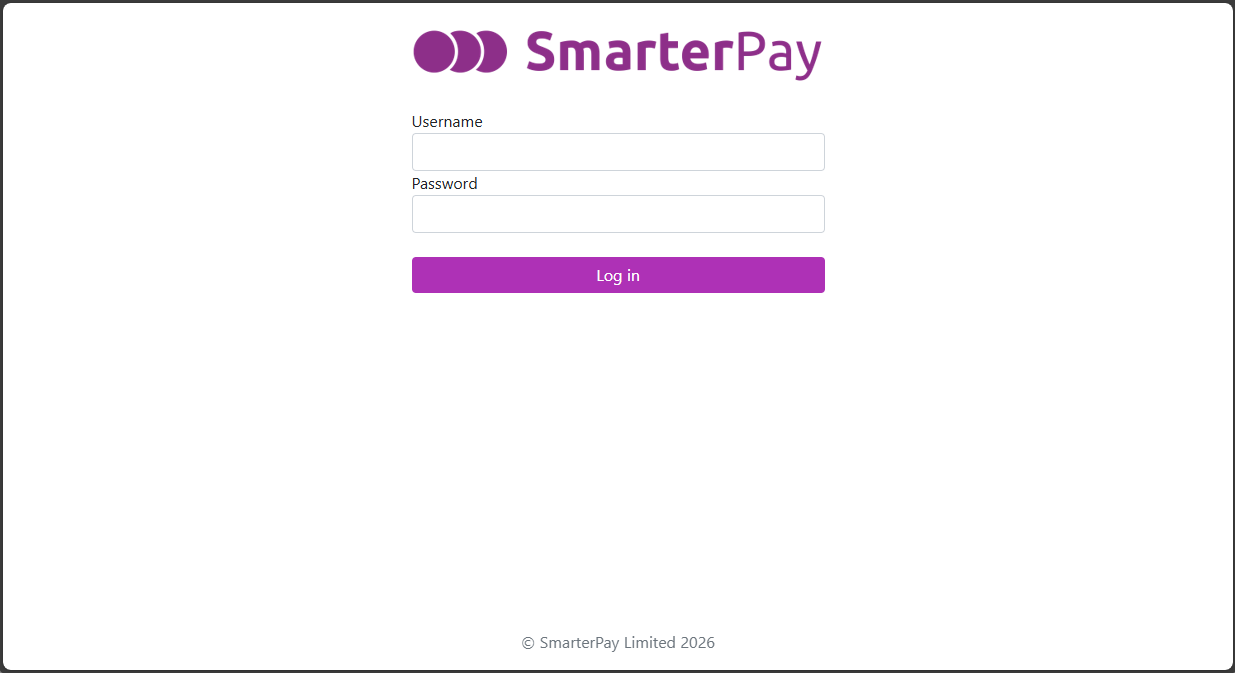
A browser window will be opened and you will be asked to enter your login details.
Click “Log In” and proceed through the MFA on the account.
4.
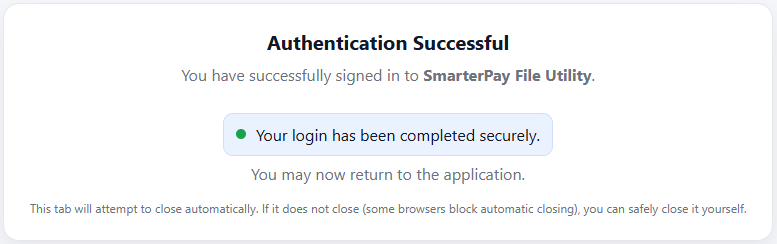
Once logged in the browser window can be closed.
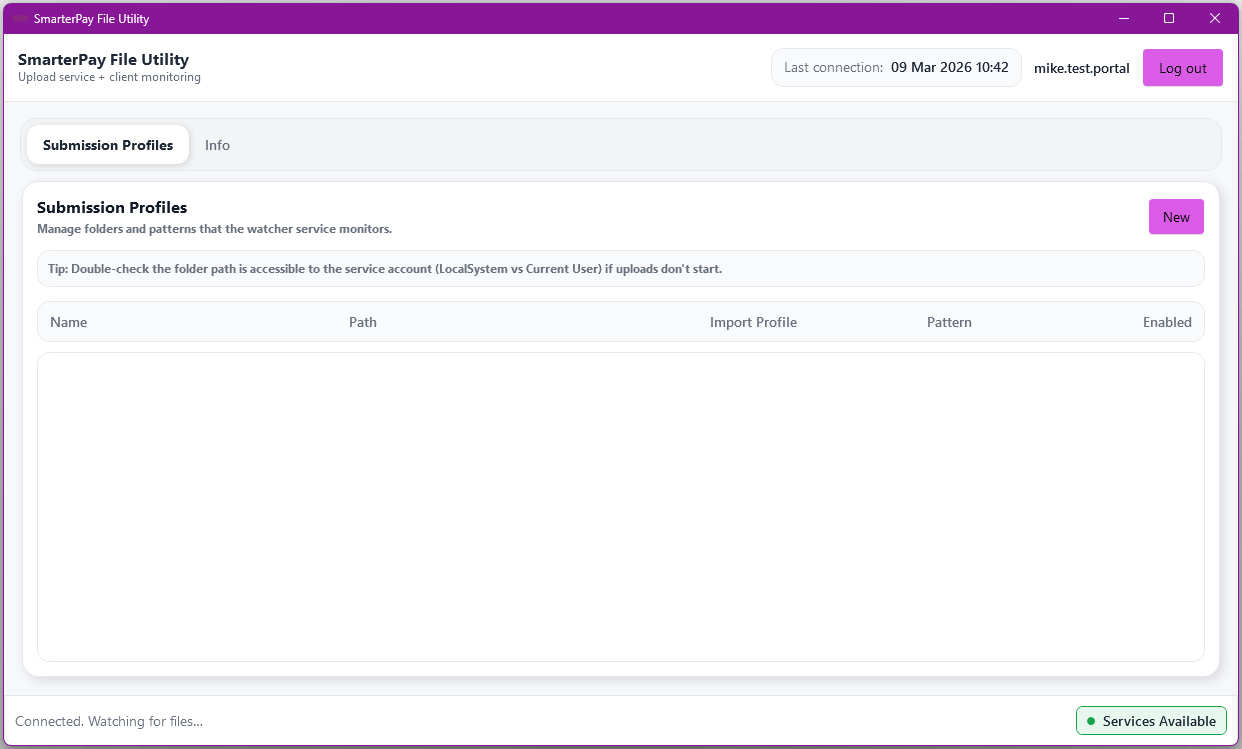
After successful login the next task is to create a new Submission Profile:
New
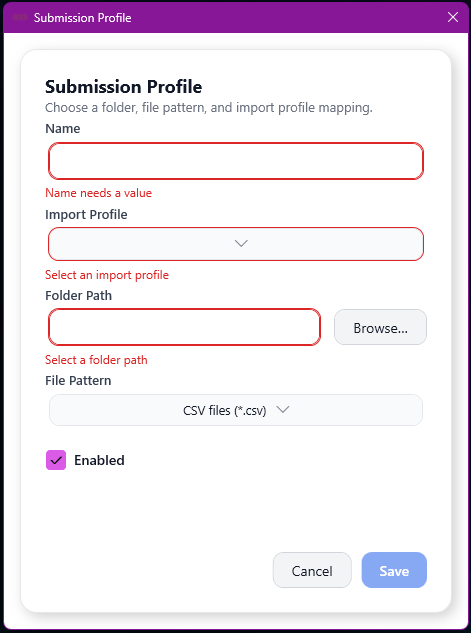
The “New” button opens a popup modal, without any values in the fields. All fields need to be populated in order to save the record.
Fields
| Field | Mandatory | Type | Description |
|---|---|---|---|
| Name | Yes | Text Box | A meaningful name for Submission profile. |
| Import Profile | Yes | Dropdown | The Import Profile that will be used to import the file into SmarterPay Cloud. Options are retrieved from SmarterPay Cloud. |
| Folder Path | Yes | Text Box | The folder on the local machine that will be monitored for files. Path can either be pasted into the field, or the “Browse” button can be used to find the folder. |
| File Pattern | Yes | Dropdown | Pattern that the application uses to find files in the specified folder. Cannot overlap another file pattern for the same folder. Options are “*.csv”, “*.txt” or advanced. |
| Enabled | N/A | Checkbox | Activates, or deactivates, the Submission Profile. |
Actions
| Action | Description |
|---|---|
| “Cancel” Button | Cancels any changes and closes the popup modal. |
| “Save” Button | Saves any changes and closes the popup modal. |