Email Alerts
This section of the SmarterPay administrator allows you to configure emails to be sent when certain event occur within SmarterPay and also view previously sent alerts. These emails can be sent to multiple emails / service users at defined alerting points, however, the actual content of the emails cannot be changed.
These alerts will primarily be of use when using SmarterPay in an unattended fashion however they are also sent when manually working with submissions.
Settings Tab
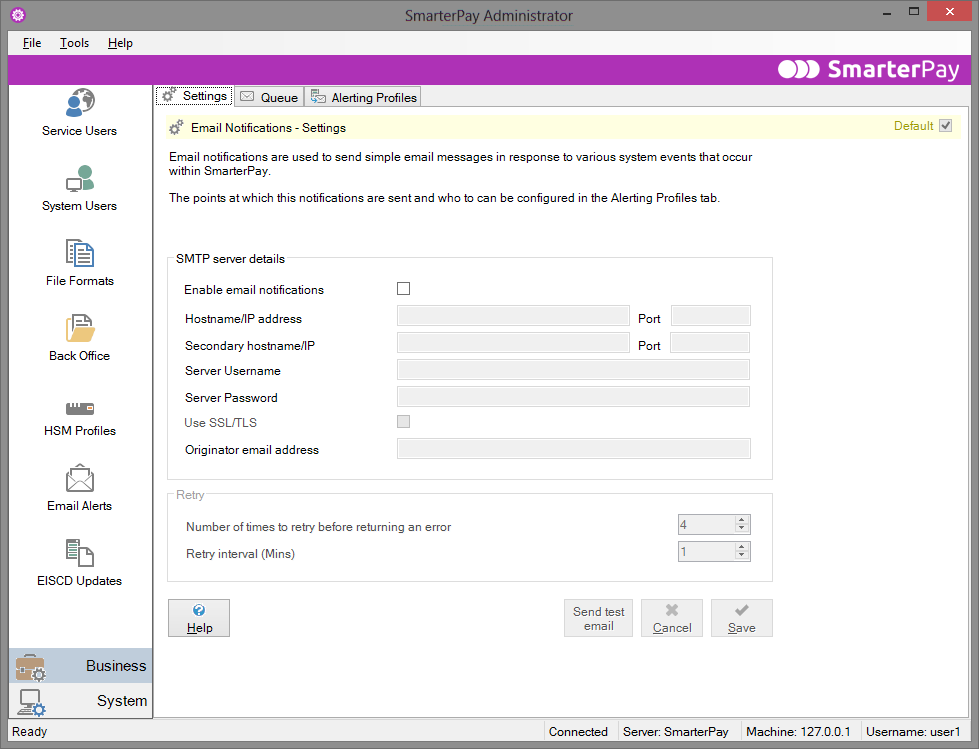
The email settings screen is where you configure the settings of the SMTP server that the email alerts will be set from, as well as any retry logic that will occur. It is also where email notifications are actually enabled for use (though each alerting profile can be enabled / disabled individually).
Hostname / IP address
This field is where the hostname or IP address of the SMTP server which should be used to send the email alerts should be specified. There is also an option to specify a secondary hostname which will be used if the connection to the first choice fails.
Server username / password
These fields are where you must enter a username and password to use when connecting to the SMTP server.
Use SSL / TLS
A check box which determines whether or not SSL and TLS should be used when connecting to the SMTP server.
Originator email address
The email address which email alerts should be sent from.
Send test email
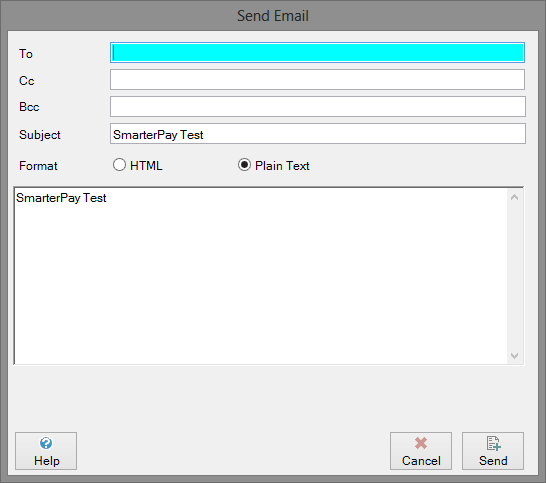
This button allows you to send a test email using the profiled SMTP settings, allowing you to ensure that they have been set up correctly. The following dialog will be opened where a test email can be created and sent.
Queue Tab
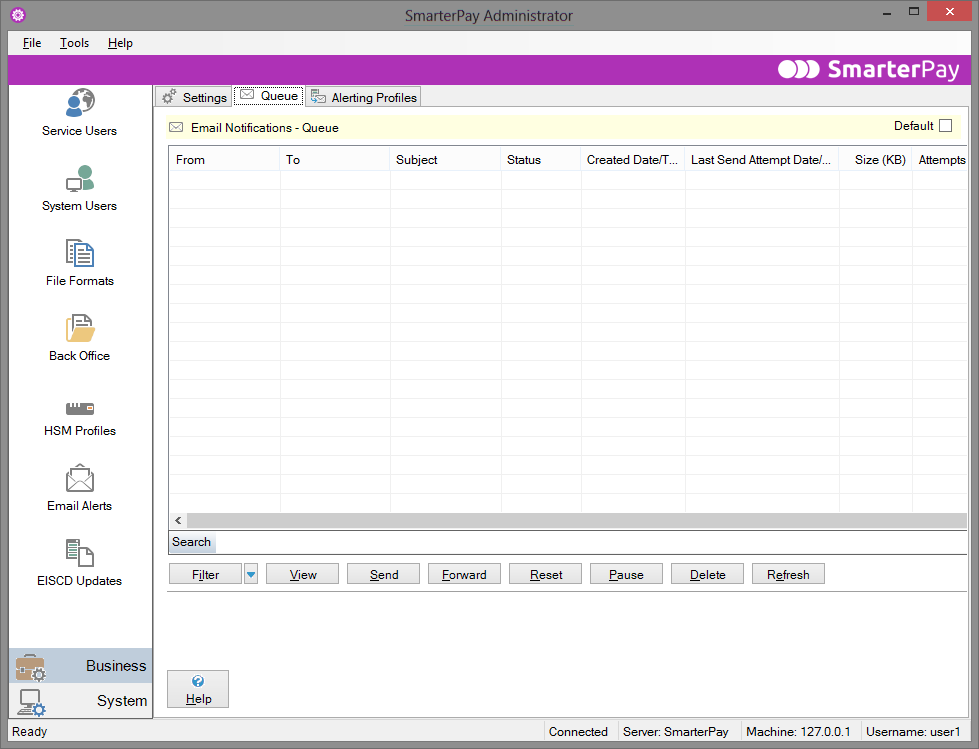
This section allows you to view all the email alerts that have been sent and also ones that are in the process of being sent. By default this view only shows the later, however this can be changed by selecting the filter button at the bottom of the page. You can perform several self explanatory actions on queued emails in this list using the available buttons, including pausing currently sending emails, deleting old emails and forward ones that have been previously sent.
View email
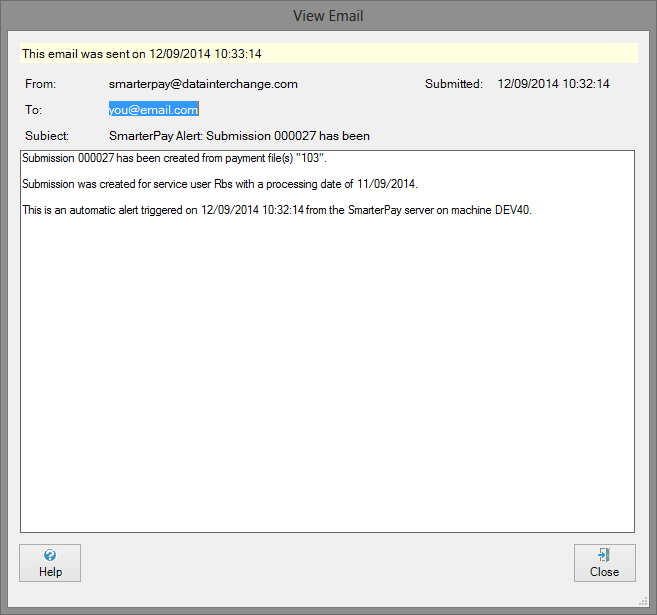
Double clicking an email in the queue or clicking the view button will display the following dialog which shows the contents of the email as well as its current status.
Forward email
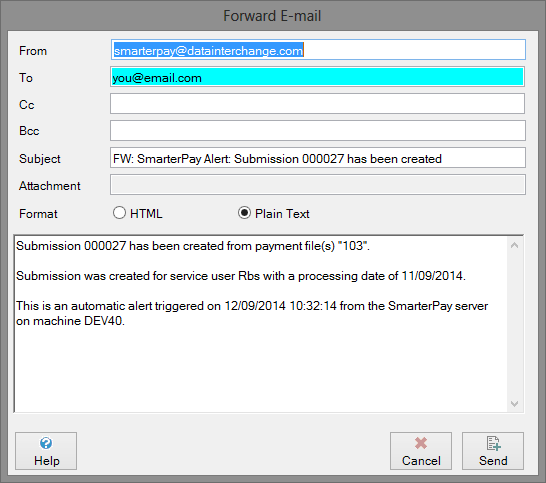
An email can be forwarded using the forward button which will display the following dialog where the email address to send to can be entered and any amendments can be made to the content.
Alerting Profiles Tab
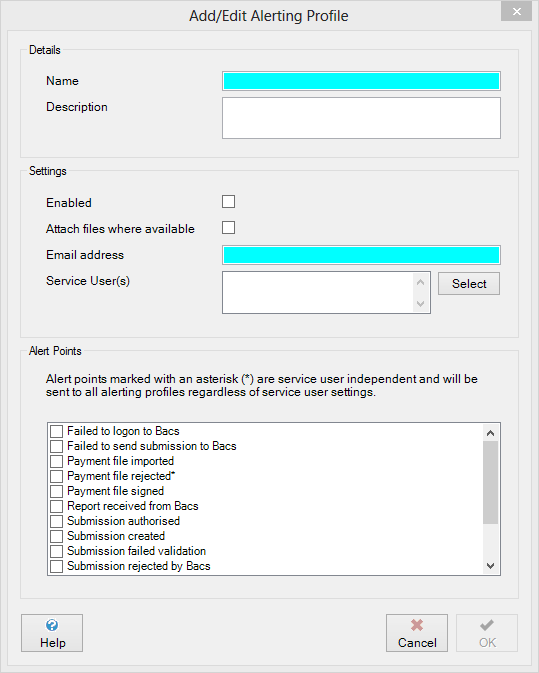
Here you can add, edit or delete alerting profiles. Each profile consists of a list of email addresses to send alerts to, service users to send alerts about and a selection of various events which will trigger alerts to this profile. Each profile can also be enabled / disabled individually.
Name
A name for this alerting profile which will be used within SmarterPay.
Enabled
Whether or not this profile is enabled. If this box is not checked then no emails will be sent to this alerting profile.
Attach file where available
Certain alert points will have files that are relevant to the event that occurred (when a report is received for example). This setting determines if those files should be attached to the email alert which is sent.
Email address
The email address(es) which alerts should be sent to. Multiple email addresses can be inputted by separating them with a semi-colon.
Service users
Allows you to select specific service users for this profile. Email alerts will only be sent to this profile if alert events are triggered by a certain service user (by sending a submission to that service user for example). Note that not all alert points are specific to a service user (such as importing a file) and such alert points will be triggered for all alerting profiles regardless of their service user configuration.
Alert points
A list of events which can trigger email alerts to be sent to this profile. Checking an alert point in this list will mean that if that event occurs, email alerts will be sent using this profile's configuration.
