Ecommerce Link Manipulation
Create
1) On clicking the “ECOMMERCE LINK” button the “Generate or Send Your Ecommerce Links” page is displayed.
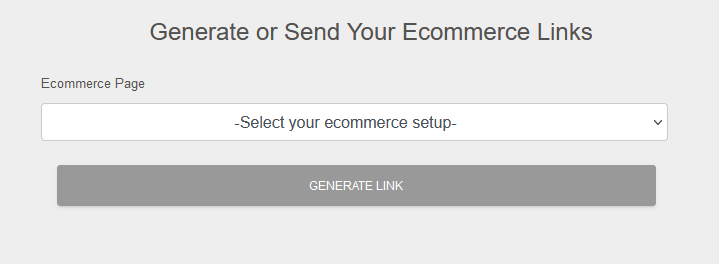
2) Clicking on the “Ecommerce Page” dropdown will display all Ecommerce Pages that are available to select.
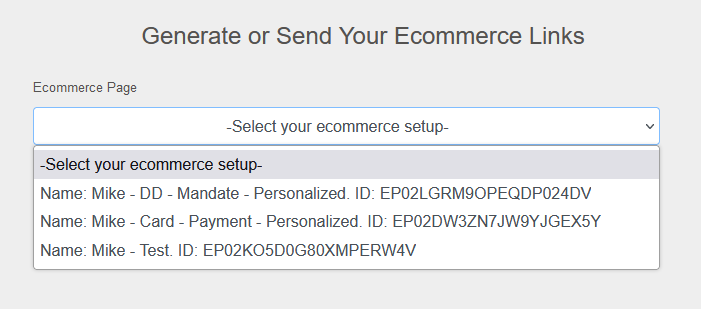
Notes:
- Ecommerce Page Setup with a “Link Type” set to “One link to send to multiple customers” (Generic links) will not be selectable from here. The link will only be available in the Ecommerce Page Setup record.
- Only Ecommerce Pages relevent to where the Ecommerce Link was called from will be displayed, for example, clicking the “ECOMMERCE LINK” button on a Mandate will only display records setup as “I will provide a mandate ID”.
3) Click on the Ecommerce Page that is required and the relevant fields are displayed
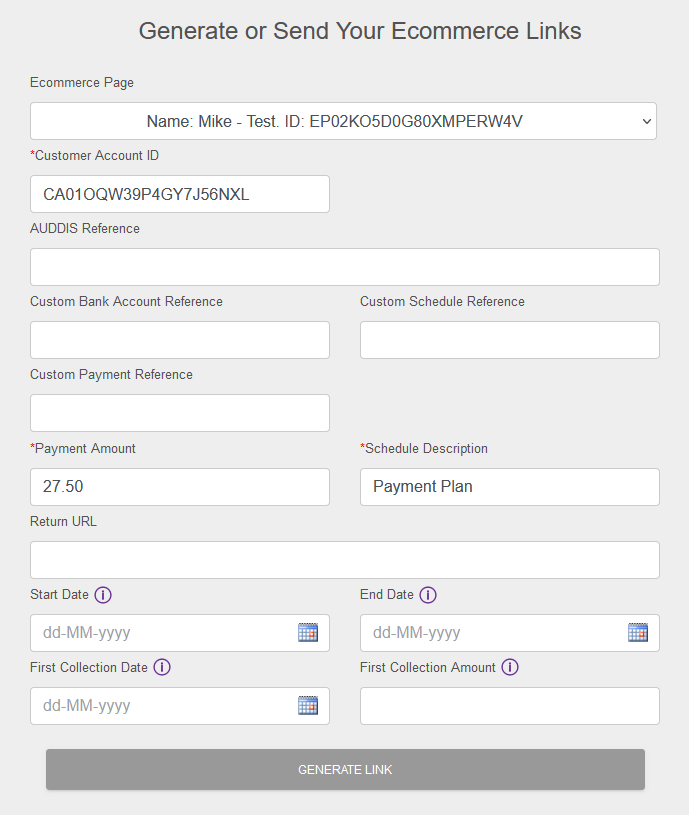
Each link generation page may look different, based on the setup of the Ecommerce Page that is selected, as there can be different mandatory fields and override options. For example, in the above image the “Payment Amount” field is mandatory, but it's value can be overriden. Another example, in the above image, is the “Start Date” for the Schedule - it is not a mandatory field, and the system will automatically calculate the Start Date, but it can be manually entered if needed.
Note for “AUDDIS Reference”
Valid characters A-Z, 0-9, “/”, “-”, “.”, “&”, “ ”.
AUDDIS reference validation when core reference is enabled
- A core reference must be a minimum of 6 characters long, and can be up to 18 characters in length. For SmarterPay Cloud this is set to a maximum of 14 to allow for up to 4 characters for related payment references.
- Although any of the allowed Bacs characters may be included in the core reference (A-Z, 0-9, “/”, “-”, “.”, “&”, “ ”), only upper case alpha and numeric characters will be considered in checking for the minimum length.
- The first character in the reference must be an alpha or numeric character (A-Z, 0-9).
- It must not consist of all the same characters, for example “000000”.
- Use of “DDIC” in the first four characters is prohibited.
- The core reference must be lodged with the paying banks exactly as it appears on a signed DD.
- It must be unique for the sort code, account number and SUN. It must not be possible to match the core reference wholly or in part to an existing core reference for the same sort code, account number and SUN.
Notes for “Return URL“
- The link must start with "https://" and be no longer than 2048 characters.
- The link cannot contain a parameter called “page”, as this is always appended to the url. The “page” parameter contains the Ecommerce page record id used to signup.
- The link cannot contain a parameter called “payment”, as this will be appended to the url if the link is created from an existing record. The “payment” parameter contains the payment link record id used to signup.
Note: In the above example the “Ecommerce Link” was called from a Customer Account record and therefore the “Customer Account ID”, that this Ecommerce Page needs, is automatically known and populated in the field.
If the “Ecommerce Link” was called from the Ecommerce Page, or the Quick Actions menu, the Customer Account ID would be unknown and therefore would need to be provided manually.
4) Once the form has been checked, and changed as needed, click the “GENERATE LINK” button to generate, and display, the link details.
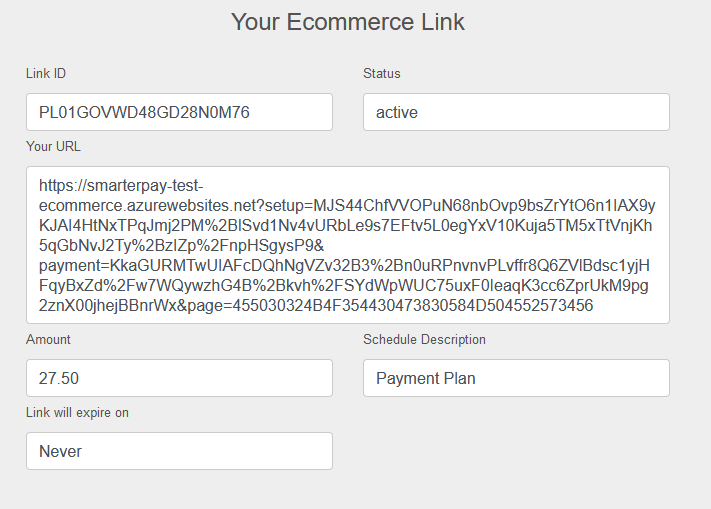
The URL can be copied and sent to your customer to use.
The Link can be found again under the Ecommerce Links Tab for the Ecommerce Page Record.
Expire
1) On clicking the “EXPIRE” button the “Expire Link” pop-up dialogue box is displayed.
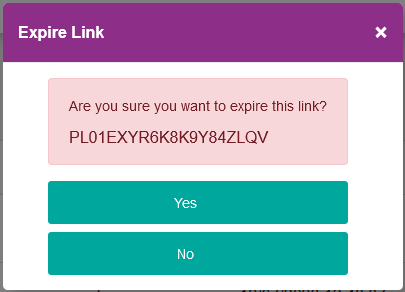
2) If you want to Expire the Link click the “OK” button, which will also dismiss the pop-up dialogue box.
Alternatively you can click the “No” button to just dismiss the pop-up dialogue box.