Ecommerce Wizard
The Ecommerce Wizard provides an interface into SmarterPay Cloud to allow your customers to setup payment plans, ongoing payments, or make a card payment.
The V2 Ecommerce wizard is detailed below. Details on the V1 wizard can be found Here.
The pages displayed to the user, and the options on each page, are set up in the E-Commerce Page Setup. The styling of the pages, are set in the Ecommerce Branding setup section of SmarterPay Cloud.
For the SmarterPay Cloud Ecommerce wizard (V2) to be used, a link needs to be provided to the customer, or user, that needs access to it.
This Ecommerce wizard link can be generated from Customers, Bank Accounts, Mandates or Scheduled Payments, using the the process detailed Here.
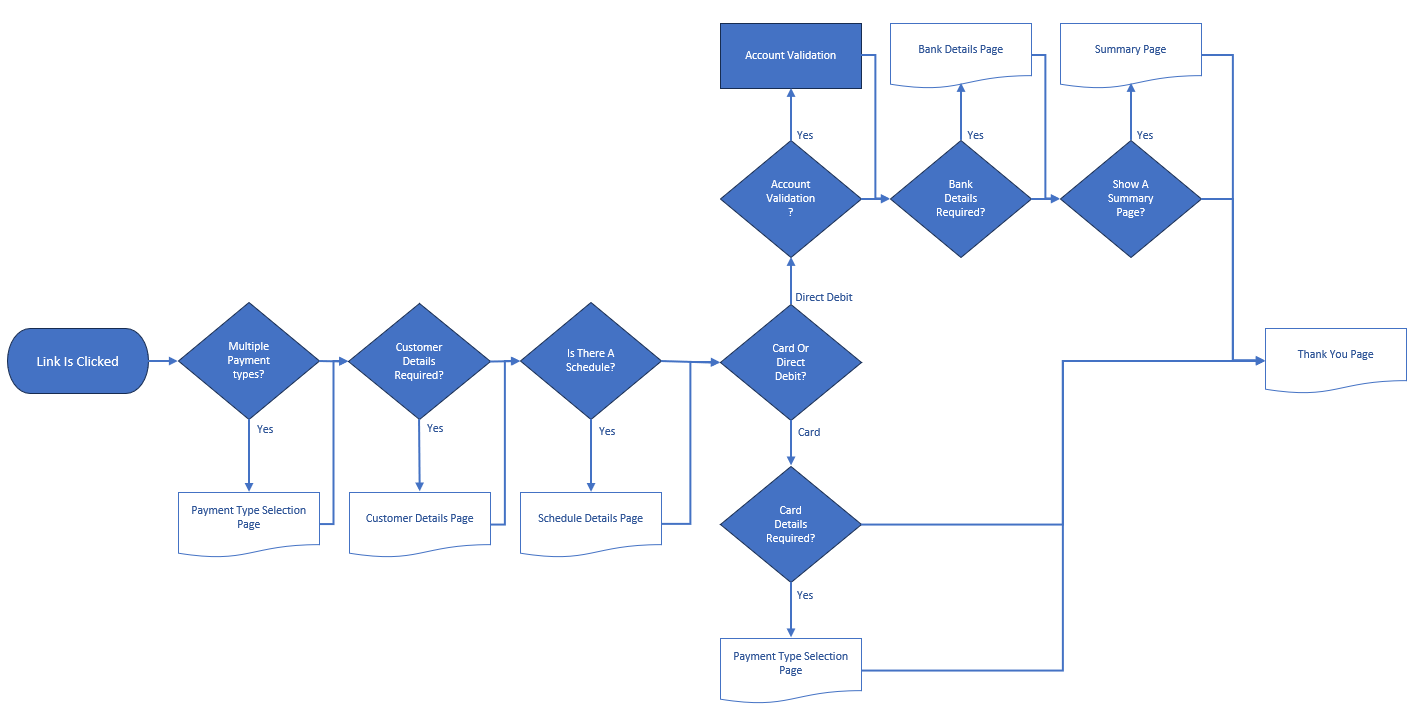
Process Flow Diagram
For more information please see the relevant section:
Process Flow Description
Payment Type Selection
The system checks the E-Commerce Page Setup to see if there are multiple payment types, for example Card Payments and Direct Debits, and if so displays the Payment Type selection page.
If there is only a single payment type, for example Direct Debit, this page is skipped.
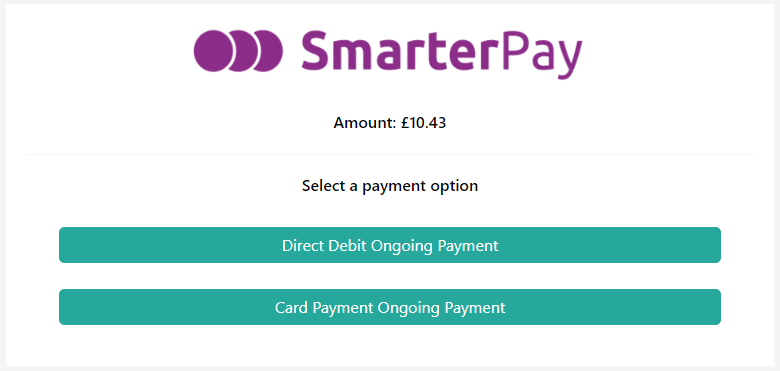
Clicking on one of the options progresses to the next step.
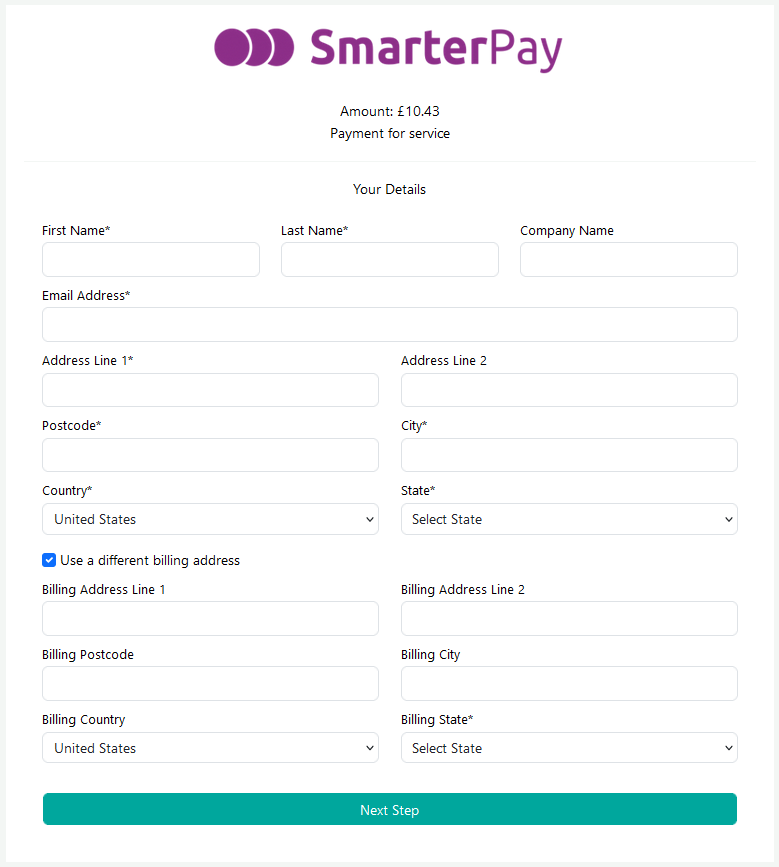
Customer Details
The system checks the E-Commerce Page Setup to see if the Customer Details page needs to be displayed, and if so Whether to display an Editable form or a Read-Only form.
Editable Form
Read-Only Form
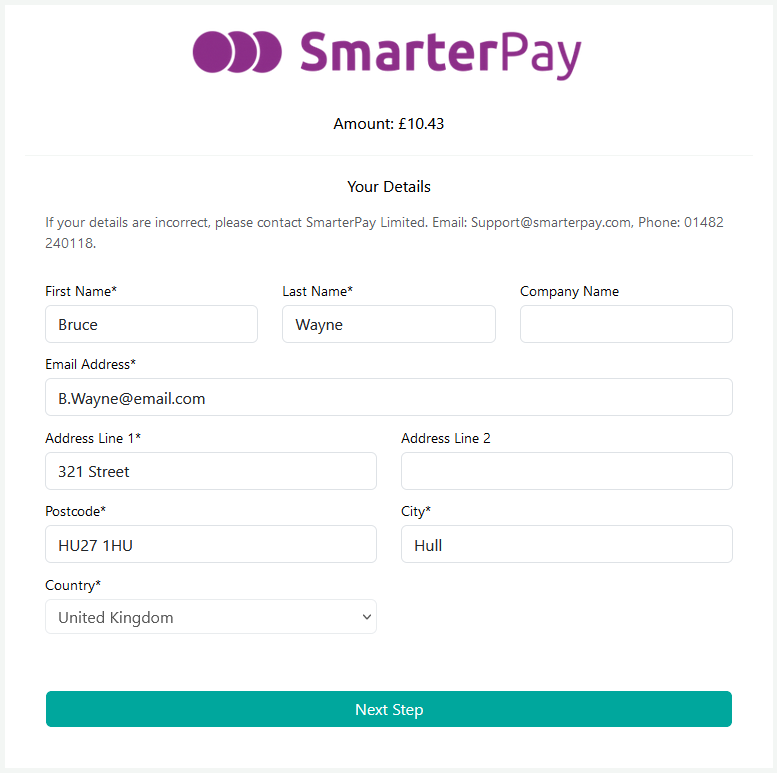
For an Editable form all the mandatory fields need to be filled in before being able to proceed. For a Read-Only form existing information will be shown so that it can be checked.
Clicking on “Next Step” continues the process.
Customer Detail Fields
| Field | Mandatory | Type | Description |
|---|---|---|---|
| First Name | Yes | Text Box | The First Name of the Customer. Maximum 50 characters. |
| Last Name | Yes | Text Box | The Last Name of the Customer. Maximum 50 characters. |
| Company Name | No | Text Box | The Company name of the Customer. Maximum 50 characters. |
| Yes | Text Box | The Email Address of the Customer. Maximum 100 characters. | |
| Address Line 1 | Yes | Text Box | First Line of the Address. Maximum 50 characters. |
| Address Line 2 | No | Text Box | Second Line of the Address. Maximum 50 characters. |
| Postcode | Yes | Text Box | The Address Post Code. Maximum 12 characters. |
| City | Yes | Text Box | The Address City. Maximum 50 characters. |
| Country | Yes | Dropdown | The Address Country. |
| State | Yes* | Dropdown | *Mandatory when Country set to “United States”. The Address State. |
| Use a different billing address | No | Checkbox | When selected displays Billing Address Fields. Note: Only available for Card Payments. |
| Billing Address Line 1 | Yes | Text Box | *Mandatory when “Use a different billing address” selected. First Line of the Billing Address. Maximum 50 characters. |
| Billing Address Line 2 | No | Text Box | *Displayed when “Use a different billing address” selected. Second Line of the Billing Address. Maximum 50 characters. |
| Billing Postcode | Yes | Text Box | *Mandatory when “Use a different billing address” selected. The Billing Address Post Code. Maximum 12 characters. |
| Billing City | Yes | Text Box | *Mandatory when “Use a different billing address” selected. The Billing Address City. Maximum 50 characters. |
| Billing Country | Yes | Dropdown | *Mandatory when “Use a different billing address” selected. The Billing Address Country. |
| Billing State | Yes* | Dropdown | *Mandatory when “Use a different billing address” selected and Country set to “United States”. The Billing Address State. |
Schedule Details
The system checks the E-Commerce Page Setup to see if the Schedule Details page needs to be displayed, if so it also checks if it is an Ongoing Payment or Payment Plan, and if it should be displayed as an Editable Form or Read-Only Form.
Ongoing Payment
Editable Form
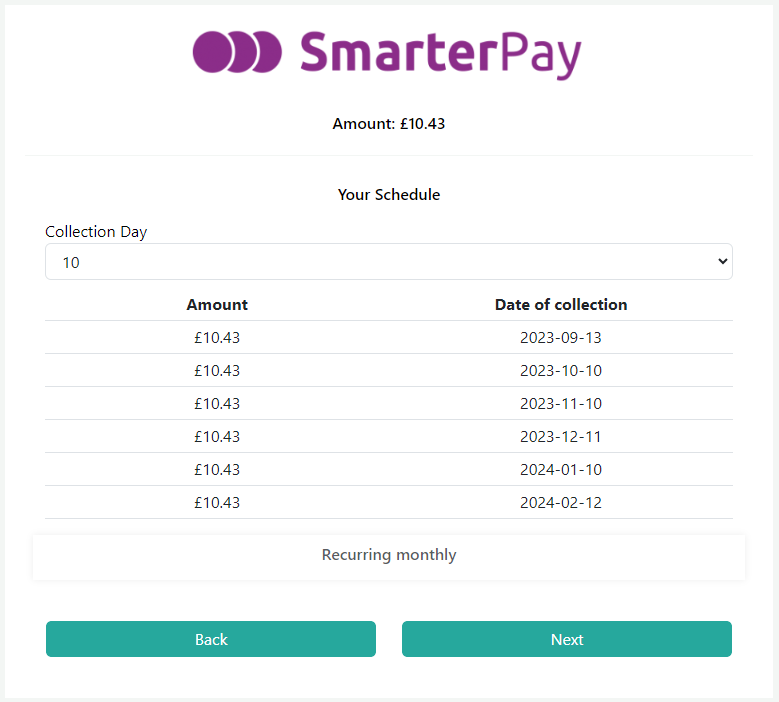
Read-Only Form

Clicking on “Back” goes back a step, if available.
Clicking on “Next” continues the process.
Payment Schedule Detail Fields
| Field | Type | Description |
|---|---|---|
| Collection Day | Dropdown | For Monthly payments defines the day of the month for collection. Options: 1-28 & Last Day. |
Payment Plan
Editable Form

Read-Only Form
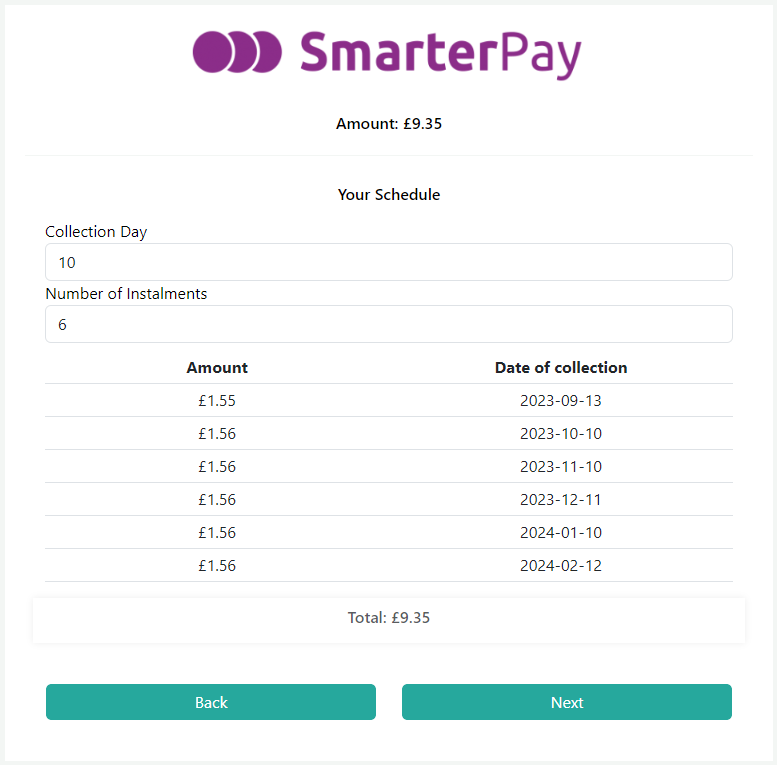
Clicking on “Back” goes back a step, if available.
Clicking on “Next” continues the process.
Payment Schedule Detail Fields
| Field | Type | Description |
|---|---|---|
| Collection Day | Dropdown | For Monthly payments defines the day of the month for collection. Options: 1-28 & Last Day. |
| Number of Instalments | Dropdown | Defines the number of instalments that the amount should be taken over. Minimum, Maximum and Default values are defined in the E-Commerce Page Setup |
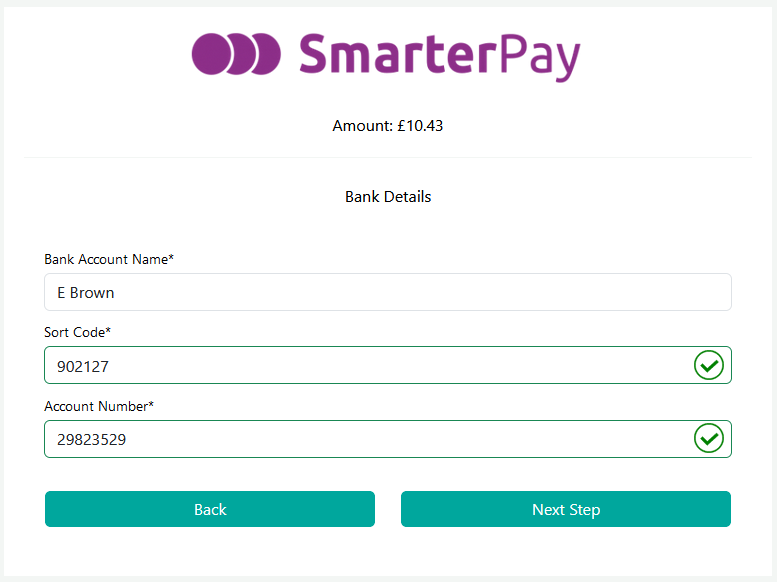
Bank Details
For a Direct Debit payment type the system checks the E-Commerce Page Setup to see if the Bank Details page needs to be displayed, and if so whether to display an Editible form or a Read-Only form.
Editable Form
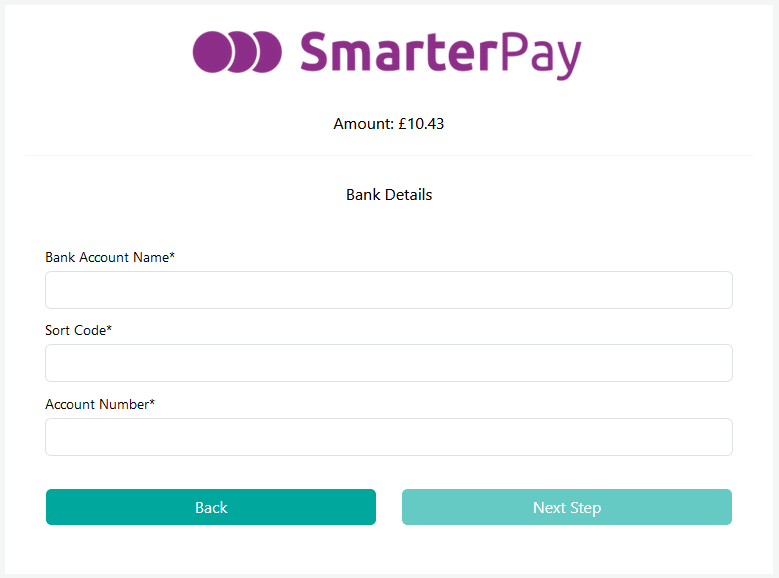
Read-Only Form
For an Editable form all the mandatory fields need to be filled in before being able to proceed. For a Read-Only form existing information will be shown so that it can be checked.
Bank Account Detail Fields
| Field | Mandatory | Type | Description |
|---|---|---|---|
| Bank Account Name | Yes | Text Box | Customer Name for the Bank Account. |
| Sort Code | Yes | Text Box | Sort Code for the Customer Bank Account. Note: 6 numbers required. |
| Account Number | Yes | Text Box | Account number for the Customer Bank Account. Note: 8 numbers required. |
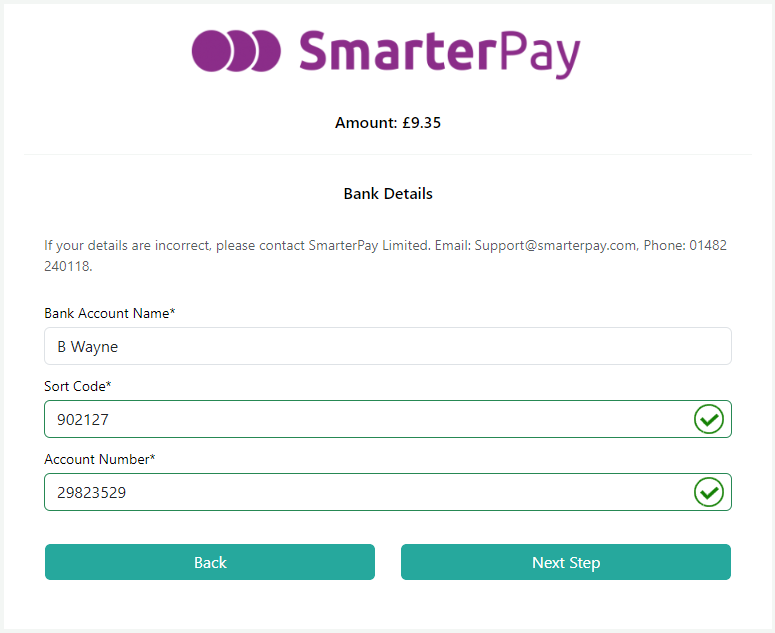
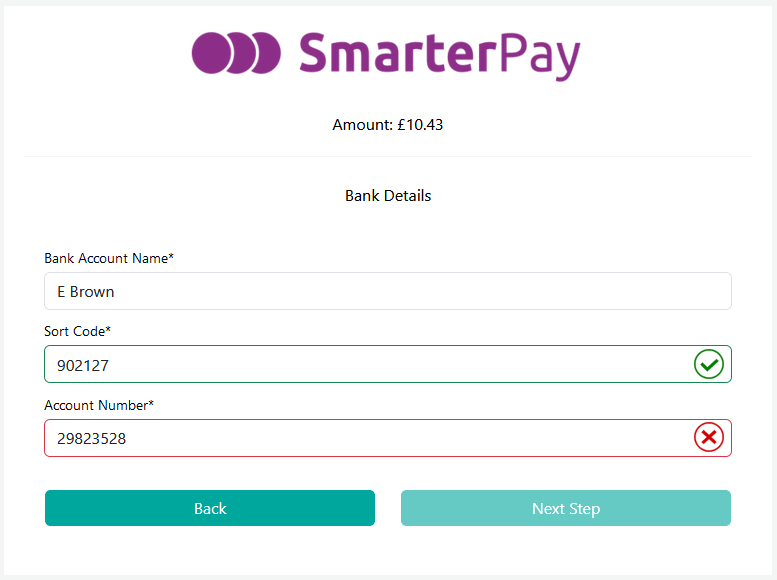
Once an Account Number and Sort Code have been provided the system will Modulus Check the details and feedback the results.
Successful Modulus Check
Failed Modulus Check
Clicking on “Back” goes back a step, if available.
Clicking on “Next Step” continues the process.
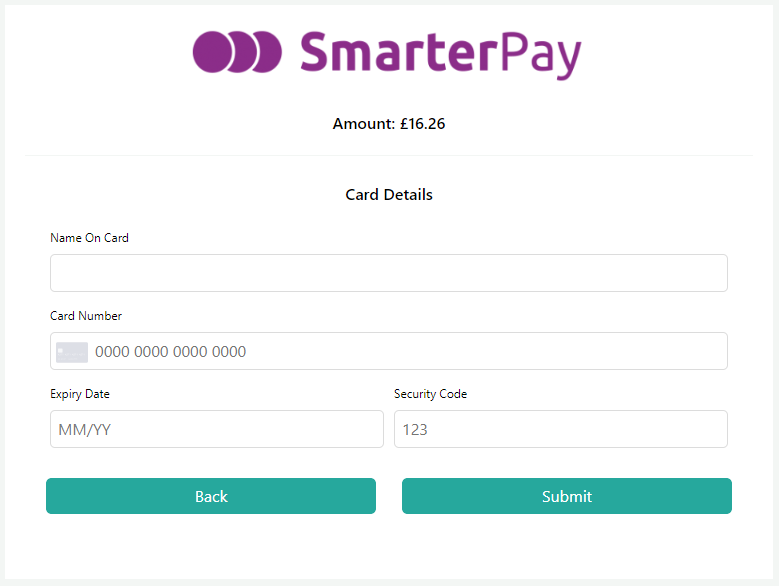
Card Details
For a Card payment type the system checks the E-Commerce Page Setup to see if the Card Details page needs to be displayed.
Card Detail Fields
| Field | Mandatory | Type | Description |
|---|---|---|---|
| Name On Card | Yes | Text Box | Name on the card. |
| Card Number | Yes | Text Box | Long card number of the card. |
| Expiry Date | Yes | Text Box | Expiry date of the card. |
| Security Code | Yes | Text Box | Security code of the card. |
Once the details have been entered the “Submit” button can be clicked to attempt the payment.
Note: If the Gateway has 3D secure enabled, and the card is supported, a pop up dialogue will be displayed to complete these requirements.
The results of the card processing will be displayed.
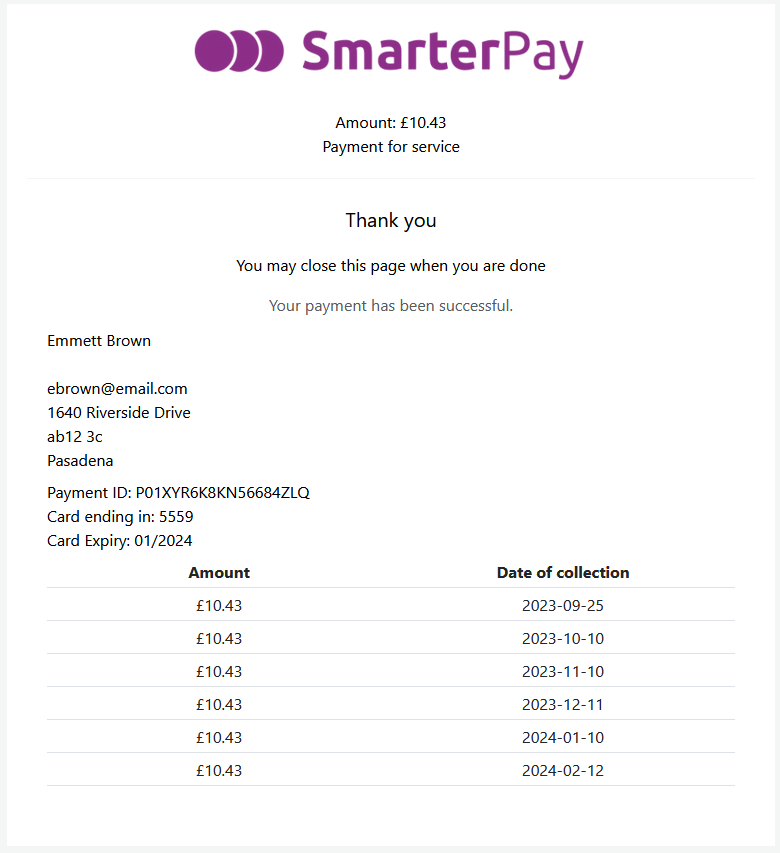
Successful Payment
Failed Payment
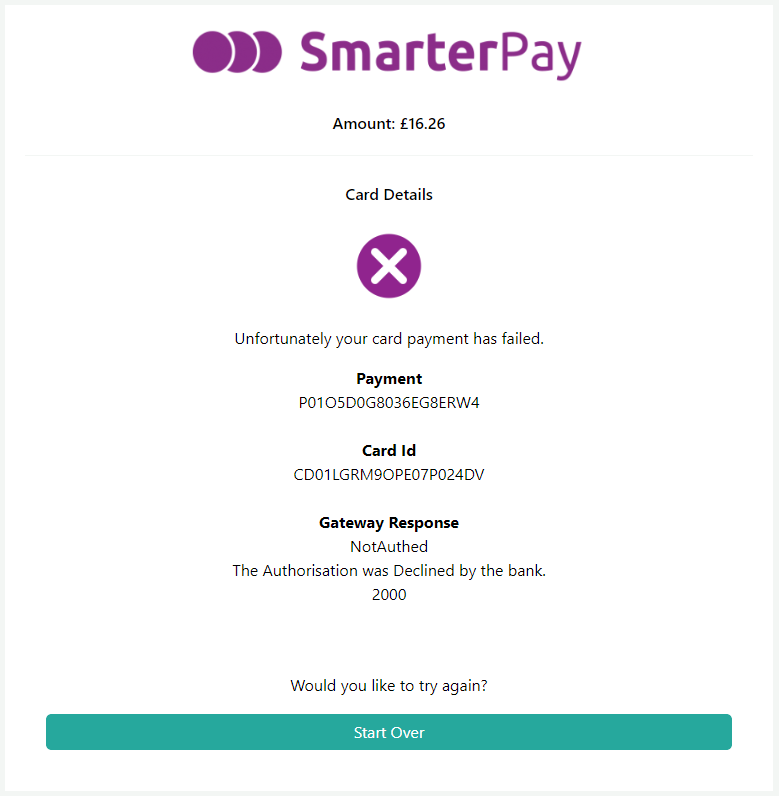
If the payment is successful then the Thank you page is displayed which contains a summary of the card payment and schedule, if set. The process has finished and the page can now be closed.
If the payment was not successful then it can be attempted again by clicking the “Start Over” button.
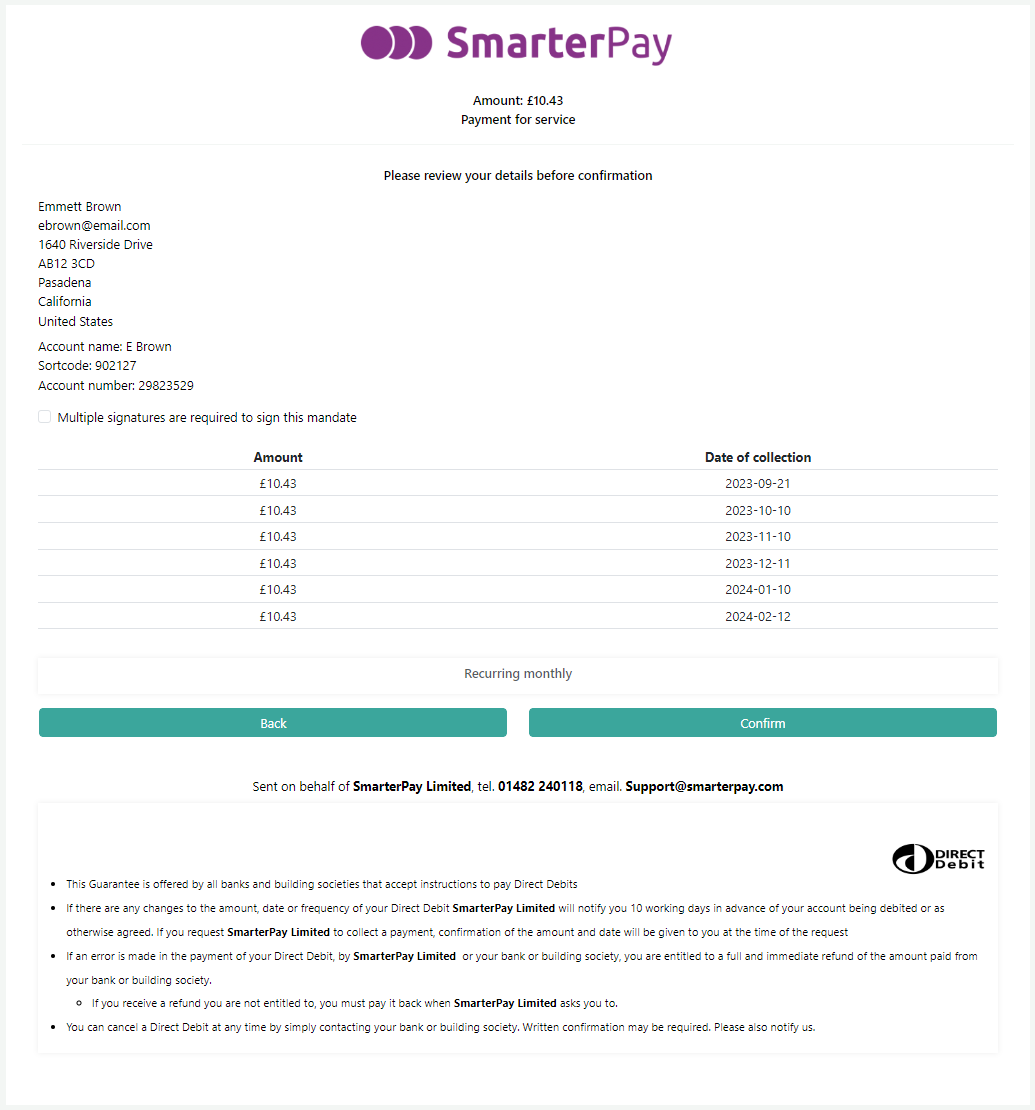
Summary Page
The system checks the E-Commerce Page Setup to see if a Summary is required, and if so displays the Summary Page.
Summary - No Account Validation
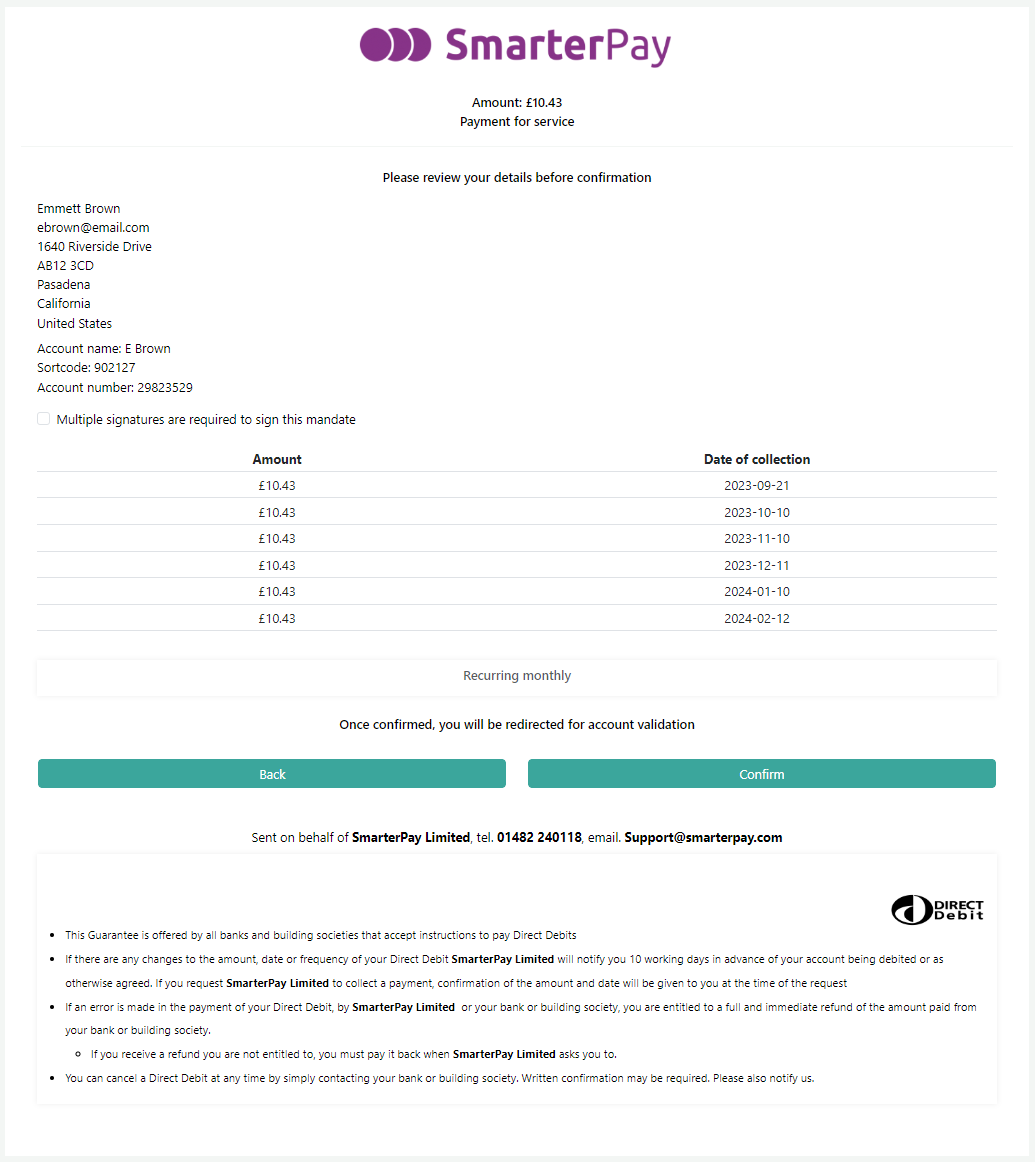
Summary - Account Validation
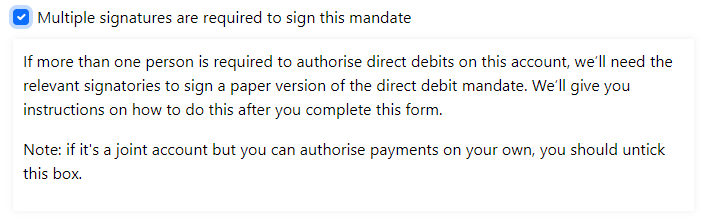
If more than one signature is required to sign a mandate, for example if using a business acount, then checking the “Multiple signatures are required to sign this mandate” allows this to happen.
Checking the box displays more information on the process and also points out that this option is not needed “if it's a joint account but you can authorise payments on your own”
If Account Validation has been enabled, and it has been set in the E-Commerce Page Setup, a message is displayed on the Summary Page and the next step will be Account Validation.
Clicking on “Back” goes back a step, if available.
Clicking on “Confirm” continues the process.
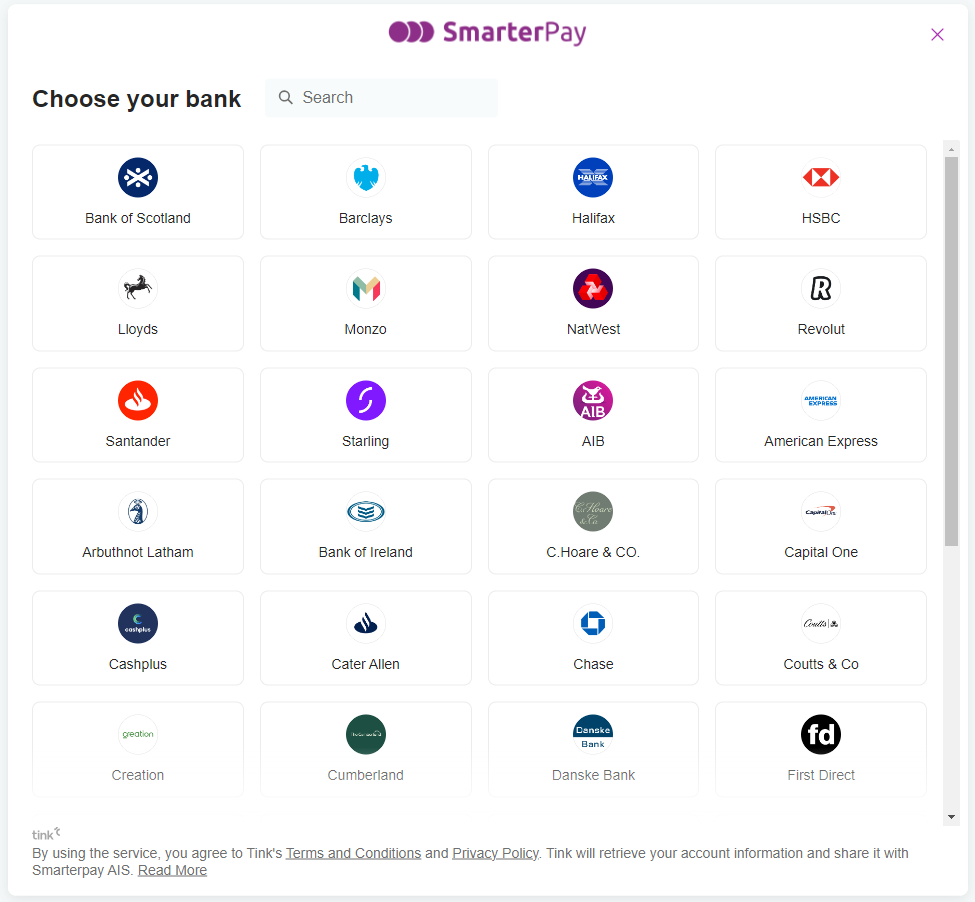
Account Validation
If the next step in the process is Account Validation the customer is directed to choose the Bank that they are with
On choosing the bank an account validation Information page is displayed
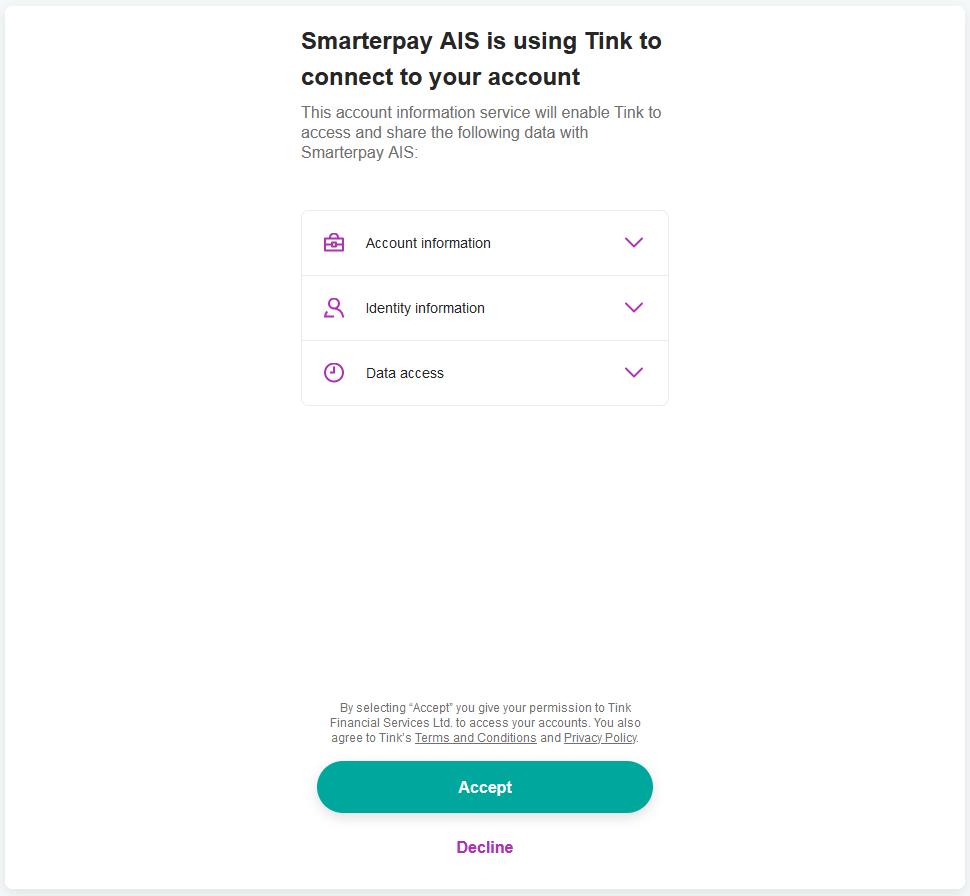
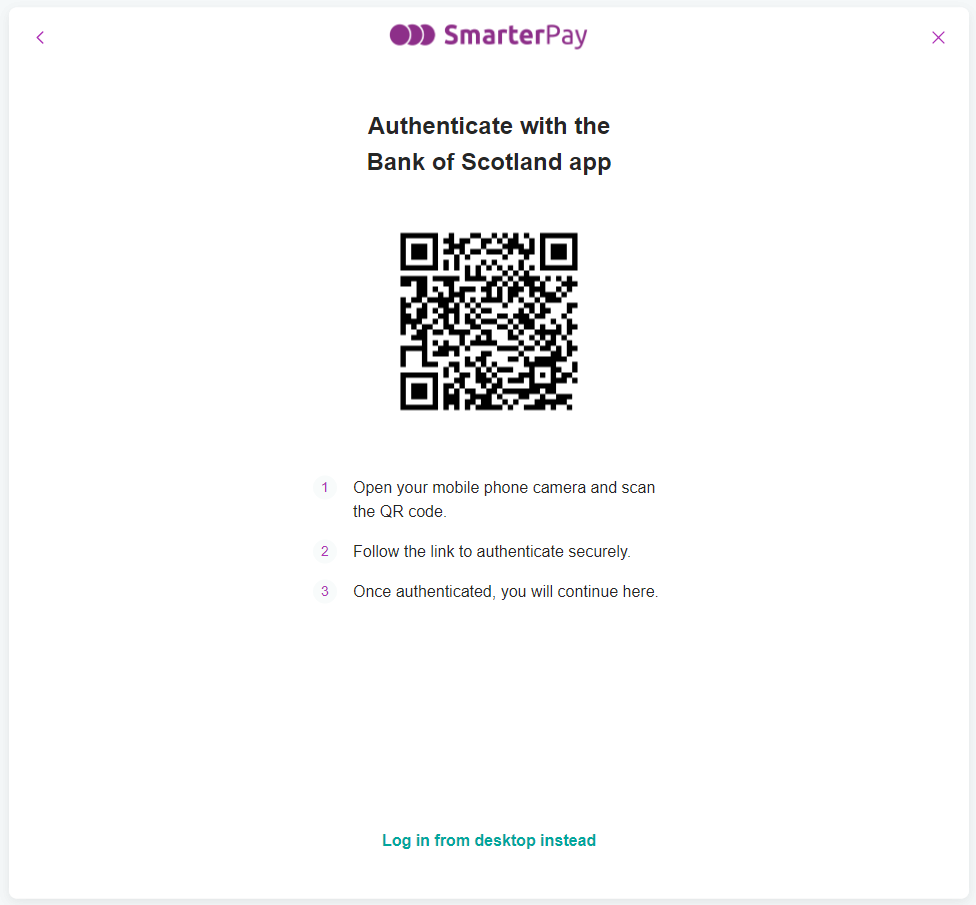
On clicking “Accept” a QR code is displayed that allows the customer to continue the account validation on their mobile device
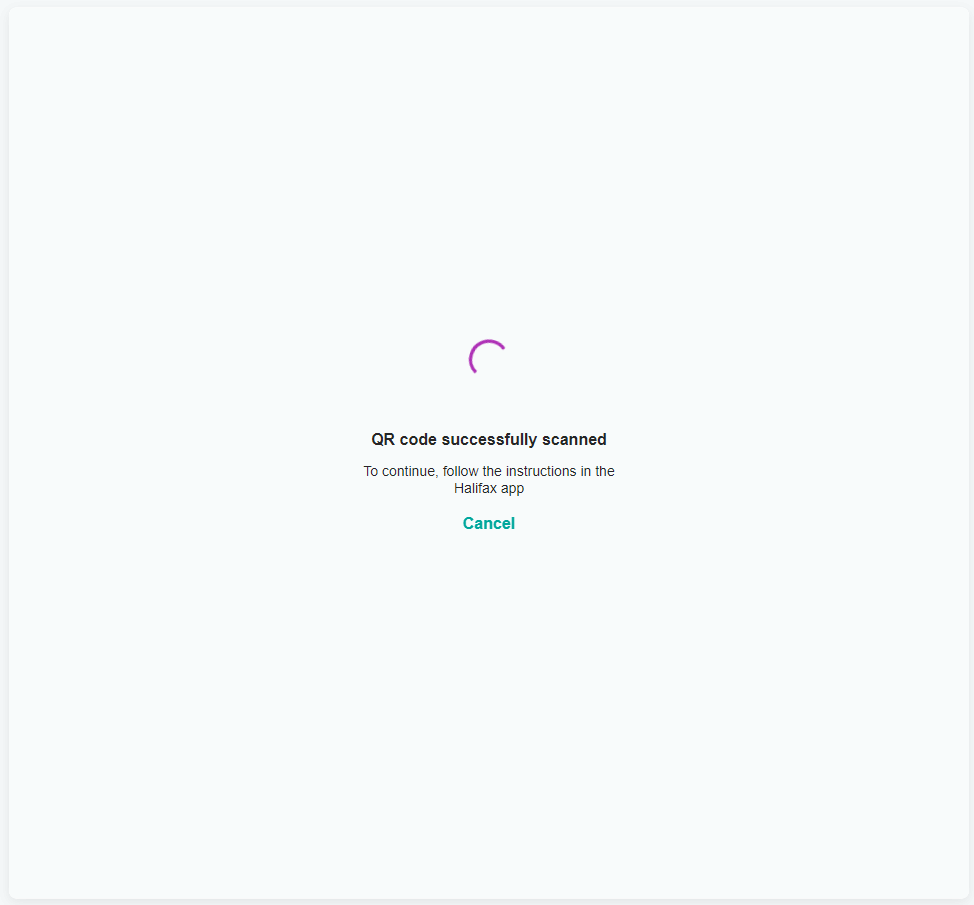
When the QR code is scanned the page changes to show this action and then waits for the customer to validate their account
If the validation is successful the system displays the thank you page
If there is an issue with the validation, for example the bank account selected doesn't match the details entered, then a message is displayed and the process stops here
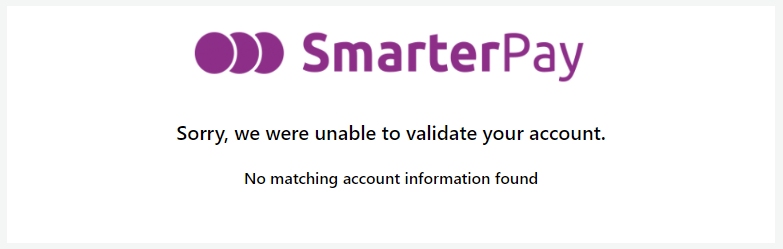
Note: Depending on the setup of the link initially sent out to the Customer, a different/new link may be required to complete the validation process
Thank You
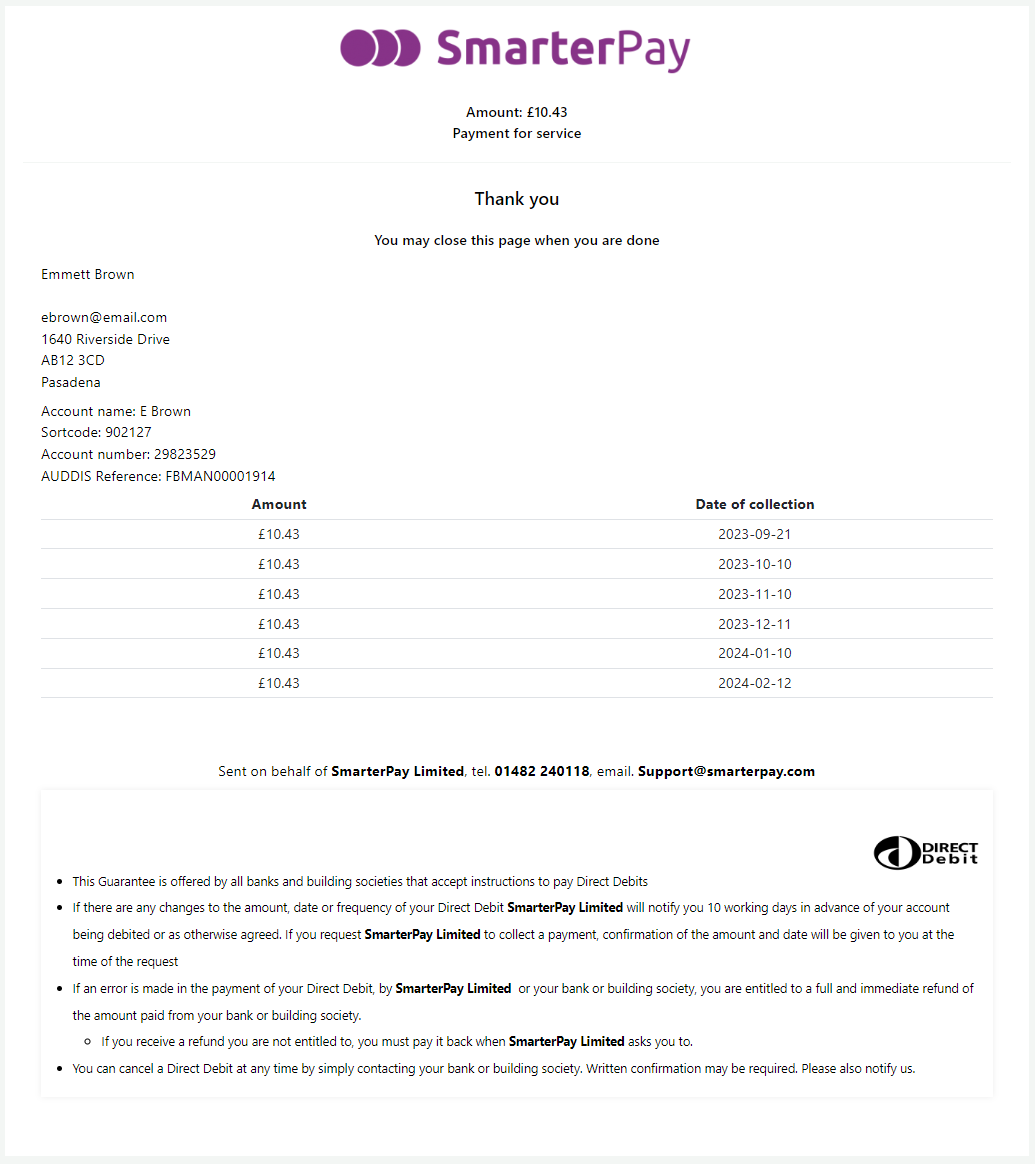
Once all of the relevant actions have taken place the system displays the Thank You page.
Thank You
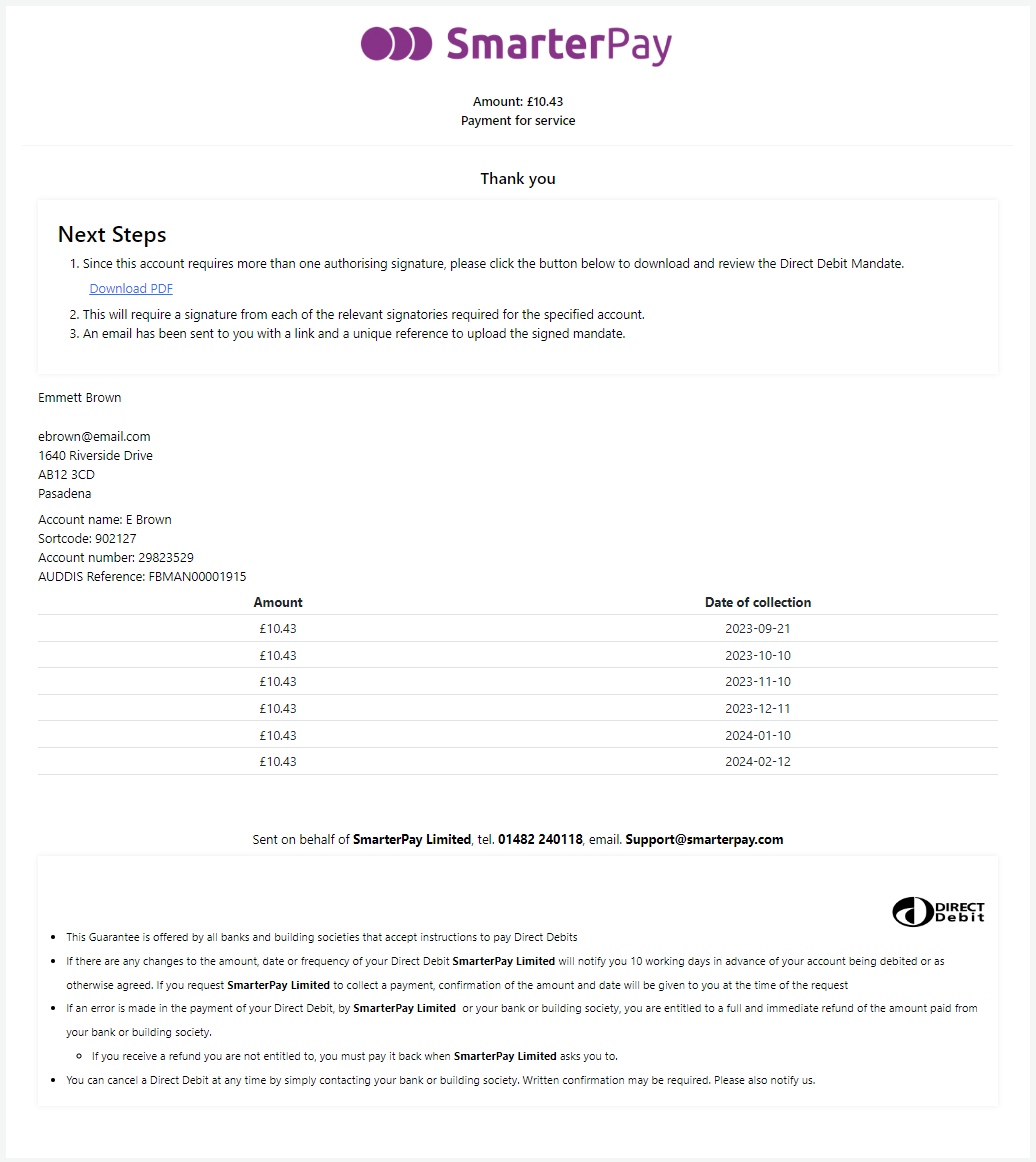
Thank You - Multiple Signatures
For Mandates without multiple signatures, the process has finished and the page can now be closed.
For Mandates with multiple signatures, the unsigned mandate can be downloaded using the “Download PDF” link, filled in and returned using the instructions in the email that gets sent to the customer.