Log
This section of the Administrator allows you to view both the current log and archived logs.
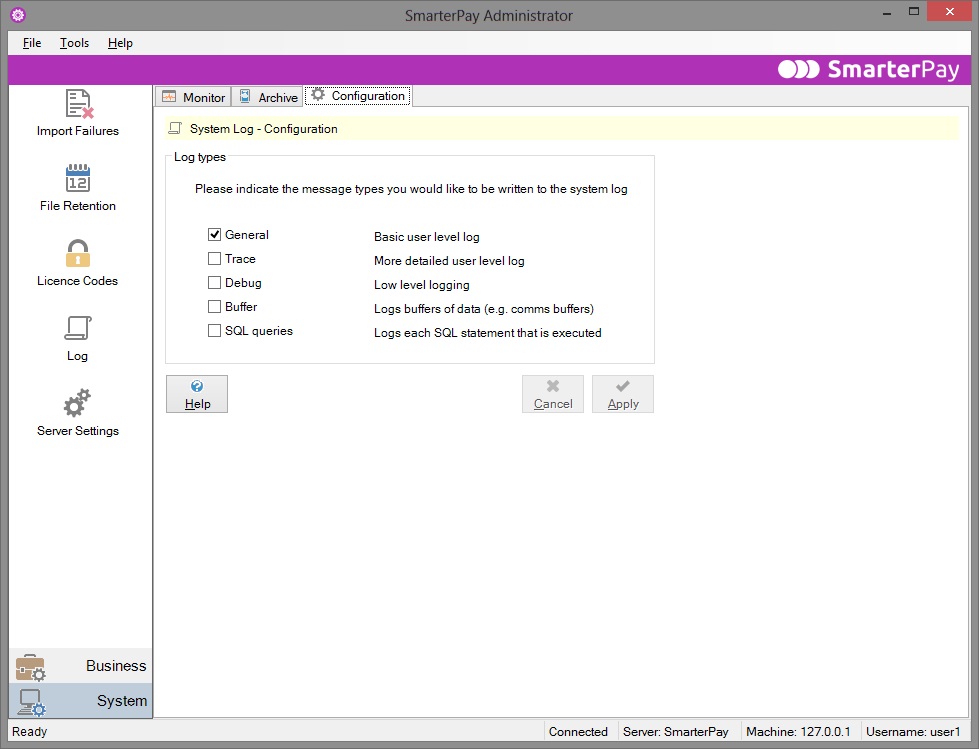
It will also allow you to configure the current logging level within SmarterPay, in order to facilitate the logging of more detail in the unlikely scenario that you encounter any issues with SmarterPay.
Please note that you do not need to archive any logs yourself as SmarterPay does this for you automatically. In fact, when you view the current (live) log on the Monitor page, the lines you see are also being written to an archive log.
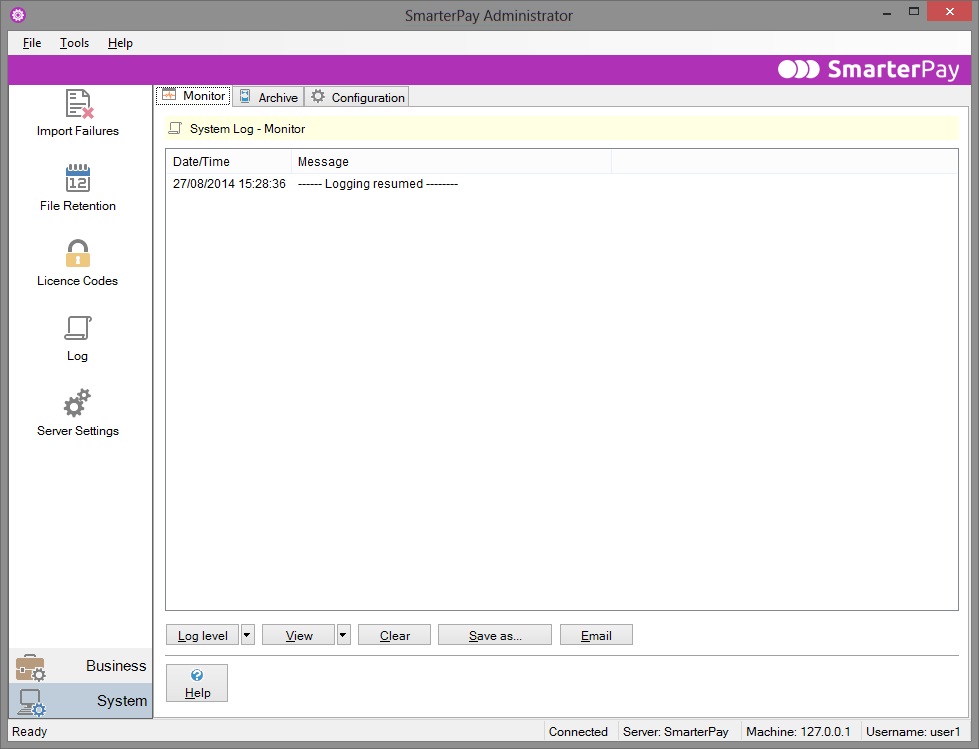
To see the SmarterPay Log section, click on the Logs icon in the Administrator. This will bring up the front page of the Logs section, as shown below. There are two pages in the Log section, called Monitor and Archive.
More:
Monitor page
The Monitor page allows you to view your current log. This log is updated in real time, so you will see lines being added to the log while you are looking at it. The first column shows the date and time at which an event occurred, while the second column displays a message informing you of the event that occurred.
Log level
The Log level button allows you to choose which types of log information you want to see in your system log. We suggest that you keep the default setting (i.e. General) just to keep the log uncluttered by too much information. Just click on the button or the dropdown arrow to see the available options. Click on an option to select or deselect it.
View
The View button allows you to choose which columns are visible to you in the log. We suggest that you keep the default settings (i.e. just Date/Time and Message) to keep the log uncluttered by too much information. Just click on the button or the dropdown arrow to see the available options. Click on an option to select or deselect it.
Date/Time – the date and time at which the logged event occurred
Type – indicates what type of log information is shown in each line of the log.
Level – related to the setting of the Log level button. This indicates, for each line of the log, what level of logging is represented (General, Trace, Debug, Buffer or SQL).
Source – indicates the origin of the log message i.e. which source code program has produced the message.
Message – the information about the logged event. This may be an error message, a warning message, a trace message or an informational message. The type of message is indicated by the last letter of the code in the Source field (E, W, T or I).
Unique ID and ID Meaning are not currently used.
Clear
If you click the Clear button, the log lines on this page will be cleared, leaving an empty area on the page. The log file itself will not be affected by the use of this button.
Save as…
The SmarterPay system logs are automatically saved, when they get to a certain size, in the SmarterPay Log directory.
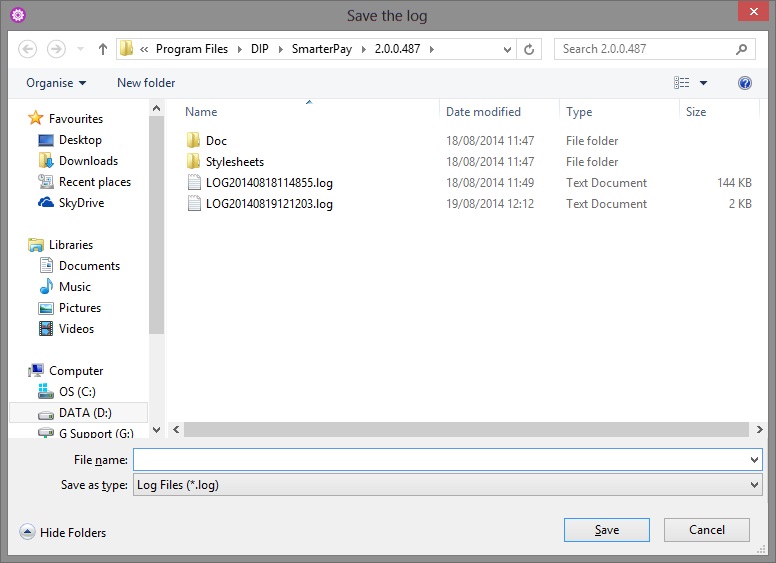
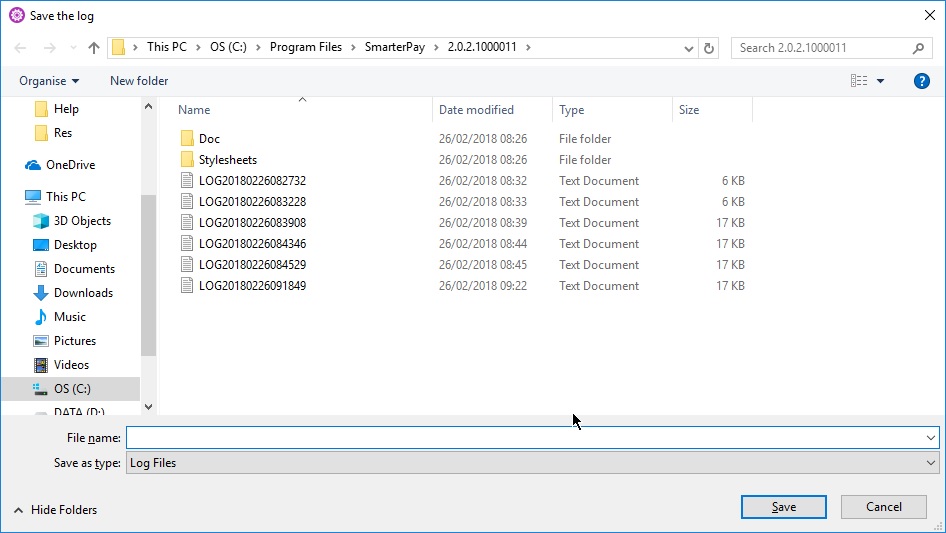
However, you may use this button if you also want to save the log file somewhere of your own choosing. If you click on this button you will see the following dialog:
Use it in the same way as you would the Windows File Save dialog i.e. select a directory path and a file name and click the Save button.
Use this button if you want to e-mail the log to somebody (usually this will be the SmarterPay Support Team). If you click on this button, it will bring up a new mail message in your default e-mail software, with the e-mail address of our support department and “SmarterPay LOG” in the subject field. All you have to do is Send it!
The exact behaviour of this function depends on the e-mail system you have installed.
Archive page
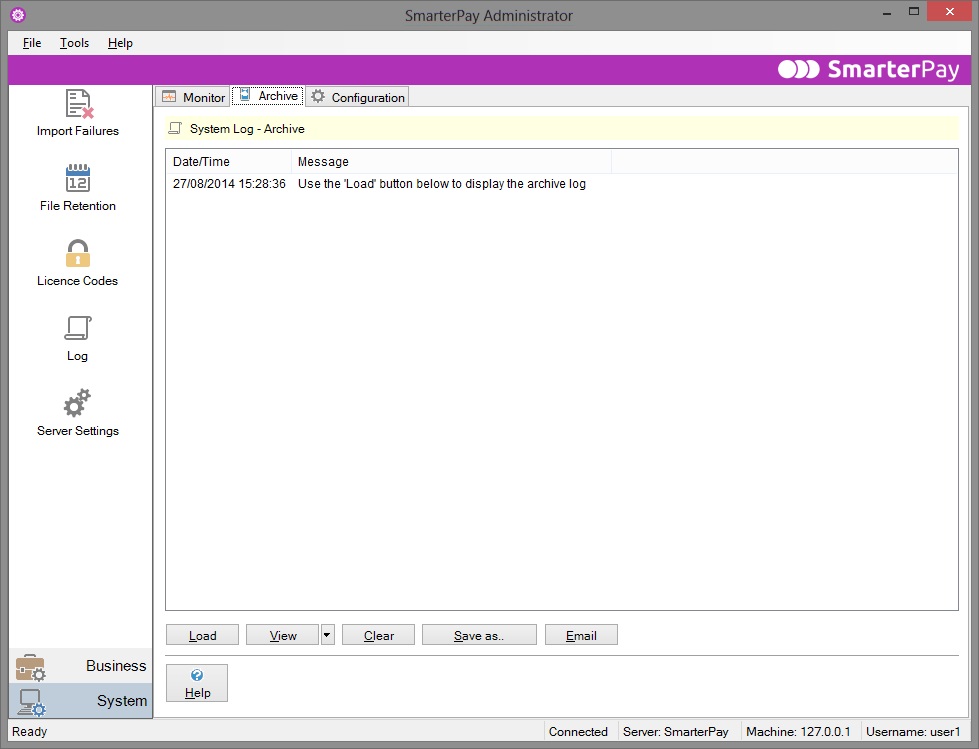
The Archive page allows you to look at previous logs. To do this, you first have to click the Load button, as suggested in the message column of this page.
Load
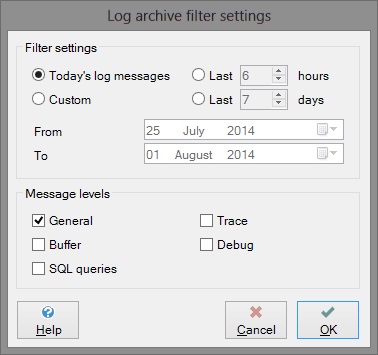
If you click the Load button, you will see the following dialog.
This filter dialog allows you to select logs from today, or from any range of hours or days.
Alternatively, you can select a particular startup log file. To do this, select the Single startup log file radio button, then use the dropdown arrow alongside the Filename field to select the required startup log file.
The Message Levels section at the bottom of this dialog allows you to choose the level of log information to be included in the loaded log.
View
The View button allows you to choose which columns are visible to you in the log. We suggest that you keep the default settings just to keep the log uncluttered by too much information. Just click on the button or the dropdown arrow to see the available options. Click on an option to select or deselect it.
Type will indicate what type of log information is shown in each line of the log.
Source will indicate the origin of the log message i.e. which source code program has produced the message.
Clear
If you click the Clear button, the log lines on this page will be cleared, leaving an empty area on the page. The log file itself will not be affected by the use of this button.
Save as…
The SmarterPay system logs are automatically saved, when they get to a certain size, in the SmarterPay Log directory.
However, you may use this button if you also want to save the log file somewhere of your own choosing. If you click on this button you will see the following dialog:
Use it in the same way as you would the Windows File Save dialog i.e. select a directory path and a file name and click the Save button.
Use this button if you want to e-mail the log to somebody (usually this will be our Support department). If you click on this button, it will bring up a new mail message in your default e-mail software, with the e-mail address of our support department and “SmarterPay LOG” in the subject field. All you have to do is Send it!
The exact behaviour of this function depends on the e-mail system you have installed.
