SmarterPay On-Premise FAQs
This section will answer the most common frequently asked SmarterPay On-Premise questions.
Installation / Upgrade
Error - no earlier product found during upgrade
EISCD Update Issue - Modulus Checks not being performed
Frequently asked questions
How do I import payment file data to SmarterPay?
SmarterPay supports Standard18, CCM LPAY, Profund A0210A1 and Selven file formats by default. If you are using a different file format you must first configure the details of the files using the File Formats section of the Administrator application.
If you are using a message format already supported by SmarterPay or you have configured your file formats you can then configure the back office details using the Back Office section of the Administrator application. Once your back office system has placed files into the specified directory, SmarterPay will detect and import them automatically into the SmarterPay client. For full details of how to configure the file format details, please refer to the section entitled File Formats Configuration.
For full details of how to configure the back office details, please refer to the section entitled Back Office Configuration.
How do I submit a payment file to Bacs?
You cannot submit a payment file as a payment file. It must first be used to create a submission. A submission may contain one or more payment files.
Before you send the submission to Bacs, you must first validate and sign it, using the Validate and Sign option from the Active Submissions page of the SmarterPay client.
In the case of service users who may sign payment files, you will notice during the Validate and Sign process that each set of Payment File Summary details warns you that the payment file has not been signed. They should be signed before you sign the submission itself (remember to select the appropriate signing user from the dropdown list first). A Sign button appears with each set of Payment File Summary details to allow you to sign each payment file. If you accidentally sign the submission before signing the payment file(s), you can return to the Active Submissions page, reset the status of the submission, and then go through the Validate and Sign process again.
How do I send a submission to Bacs?
Open the Active Submissions page of the SmarterPay client. Select a submission from the list presented to you and use the Send option (either the Send icon or Actions » Send). If the submission has not yet been signed you will be asked to sign it before it will be sent.
How do I retrieve a Bacs report about a submission?
Open the Reports page of the SmarterPay client. Select the Download new reports option to download all the currently available reports from Bacs. This action requires you to logon to Bacstel-IP, so you will need a valid smart card and your PIN.
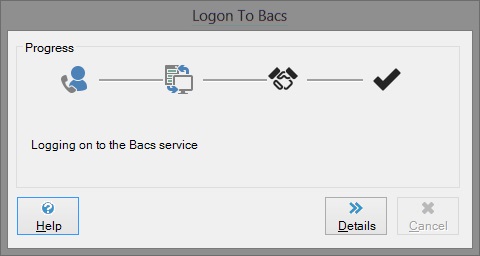
You will see the dialog shown below, which shows you the progress of your attempted connection to Bacs:
If you have any difficulty logging onto Bacs, click on the Details button to see a full description of the problem. You will then have to click the Cancel button to return to the Reports page.
If you made a successful connection, you will see that the list of available reports has been, or is being, updated. The logon dialog will close itself automatically and you can now select any of the reports to view its contents.
Once the reports are available from the Reports page, you will also be able to access the same reports from the Active Submissions and the Archived Submissions page.
How do I view a Bacs report about a submission?
Reports are available from the Active Submissions page, the Archived Submissions page and the Reports page. Depending on your configuration as a system user, you may not be able to see all three of these pages. However, the reports available on each page are identical; it is simply how you access them that differs.
From the Active Submissions page and the Archived Submissions page, select the checkbox of the submission you are interested in, then select Actions » Bacs Reports and choose a report from the list offered to you.
From the Reports page, use a combination of the values in the Report Type and Submission Serial columns to select the checkbox of the report and submission you are interested in, then select the View option (either Actions » View Report or the View icon from the tool bar).
How do I know if Bacs received my submission?
SmarterPay will display a message to confirm that your submission has been received for processing by Bacs. If it has not been received you will see a message giving a reason why the submission could not be sent.
Why doesn't my password work?
Check that you have not got your Caps Lock key on, as your password is case sensitive. If it still doesn't work, you will have to have your password reset by a User Administrator.
Why doesn't my PIN work?
Check that you have not got your Caps Lock key on, as your PIN is case sensitive. If it still doesn't work, contact your bank.
What if the processing date has passed since I signed a submission?
The signature of a submission or payment file is only valid as long as the data is not changed after applying the signature. Similarly, if you sign a submission or payment file and do not send the submission to Bacs on the same day as it was signed, the processing date may pass, making the signature invalid.
If you wish to change the data, you can use the Validate and sign dialog to make changes to invalid data, and re-sign. A signature can also be removed from a submission and its payment files by selecting 'Reset Status' from the Active Submissions view.
How do I backup my database?
For full details of how to backup your SmarterPay database, please refer to the section entitled Database Backup and Restore. This section also contains details of how to restore your database from the backup.
What if certificate validation fails?
Certificate validation is the process of ensuring that the certificates you are trying to use (and all certificates in the certificate chain) are valid. Certificates can be invalid if they pass their expiry date, are revoked by the issuer or if the certificate is not installed correctly.
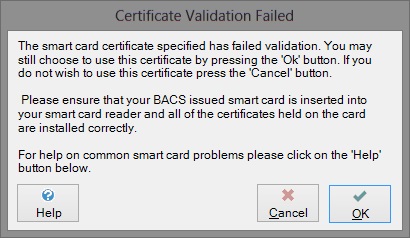
The ‘Certificate Validation Failed’ dialog (shown below) can be shown for a number of different reasons at different points in the SmarterPay software.
Please ensure that your smart card reader is properly connected to your PC and that your Bacs issued smart card is properly inserted into the smart card reader.
Please ensure that the smart card you are using is still valid, the expiry date of the card should be printed on the front of the card. If your smart card is out of date please contact your issuing bank for a new one.
If you are using a version of the Windows operating system with “User Account Control” enabled then there may be an issue preventing your smart card from validating. Please follow the steps below to ensure this issue does not affect your machine.
1. Insert your smart card into the smart card reader.
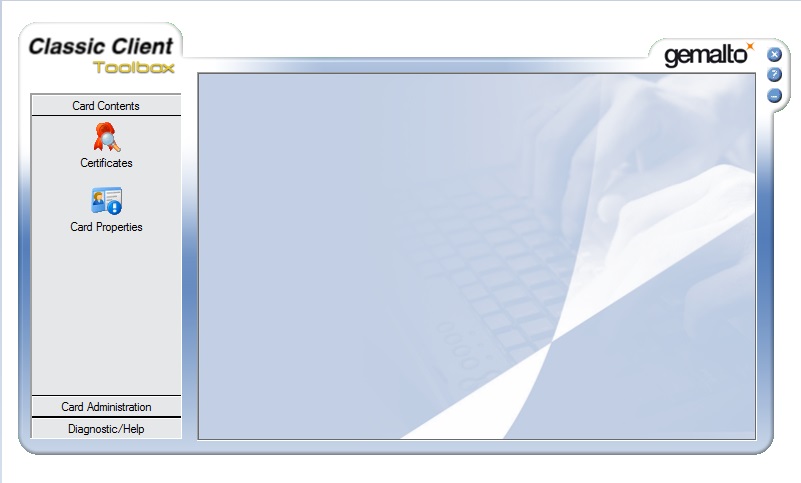
2. From your Windows Start menu right click on the ‘GemSafe Toolbox’ application, select ‘Run as administrator’. You should see the window below:
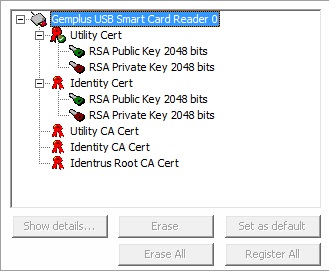
3. Select the certificates icon which should show the following screen:
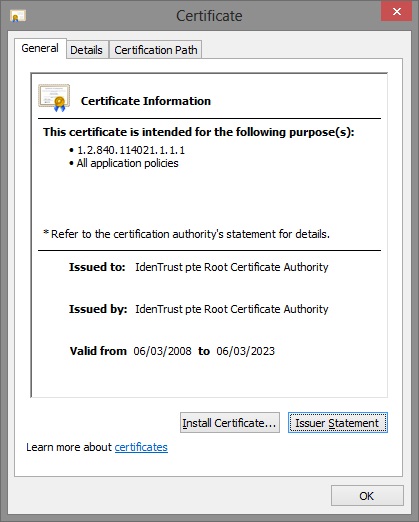
4. Select the certificate at the top of the certificate tree (bottom of the above list) - this certificate should include ‘Root CA Cert’ in the title. Press the show details button. You should then see the following screen:
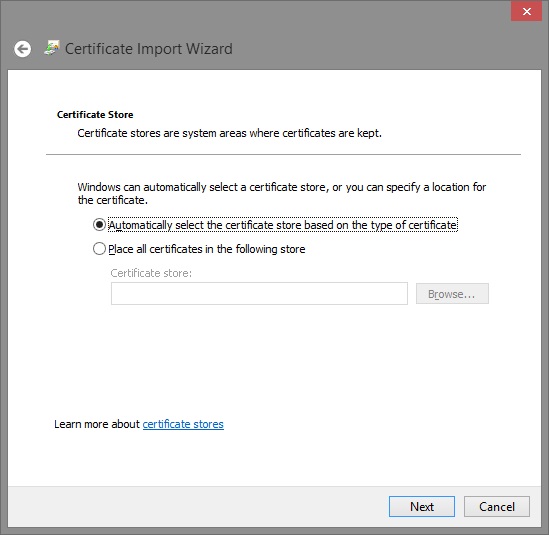
5. Press the ‘Install Certificate…’ button. This should load the Windows ‘Certificate Import Wizard’. Press next on the first screen of the wizard to reveal the following:
6. Select ‘Place all certificates in the following store’ and then press the ‘Browse…’ button.
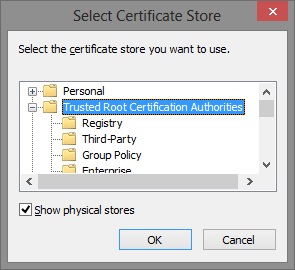
7. From the ‘Select Certificate Store’ window check the ‘Show physical stores’ check box. Expand ‘Trusted Root Certification Authorities’ and then select ‘Local Computer’.
If ‘Local Computer’ is not listed you must go back to step 2 and be sure to start the Gem Safe application as an administrator.
8. Complete the ‘Certificate Import Wizard’. Your smart card should now be validated correctly when used in SmarterPay.
Why isn't my HSM working?
SmarterPay has been designed to work with the Thales® range of HSMs. If you're attempting to use a device from another manufacturer, there may be additional configuration steps that we can undertake to get your device to communicate with SmarterPay, however we cannot guarantee its functionality.
When SmarterPay cannot detect your device...
Upon starting the server, you may receive the following message:
This occurs if you have HSM profiles in SmarterPay with the DIPHSM00 component licensed, but for some reason SmarterPay could not interface with your device.
This may be because:
- The device is not switched on
- The device is not connected to your SmarterPay server
- SmarterPay failed to use the device's interface libraries (supplied by the device vendor) to establish a session with your device
- At some point, the computer that hosts your HSM has been switched off/put to sleep/hibernate mode while the device was still active - this is strongly discouraged by Thales®, and although it will cause the issues described here, it will not permanently damage your device.
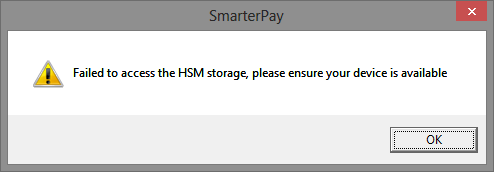
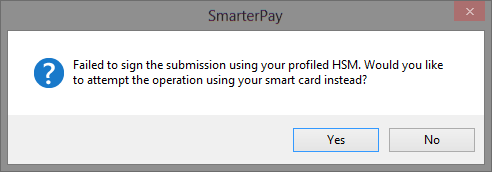
If you're attempting to sign a submission, then you may receive the following message:
The causes to this issue are very much the same as those outlined above. The potential resolutions will also be the same.
Resolving connectivity issues with your device
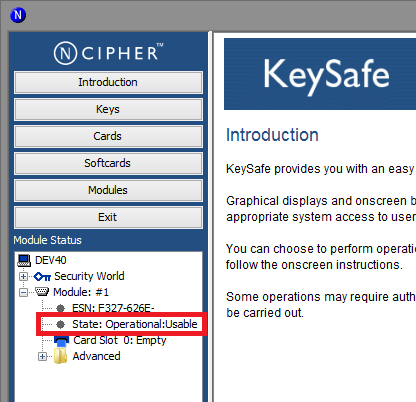
First and foremost, it is worthwhile to determine whether or not SmarterPay is the cause of the issue. This can be ruled out by using the device vendor's own client software to attempt to communicate with the device. For Thales® HSMs, this software is known as KeySafe.
If your module's “state” is listed as “Operational: Usable”, then it is likely to be an issue with SmarterPay that should be raised with the SmarterPay support team. If the state appears as “Failed” or other such variations on this, then the problem is likely to be an issue with the setup of the device.
If the issue is related to device setup, then the first troubleshooting step is to simply power down the device, wait a few moments, connect it back up and switch it on.
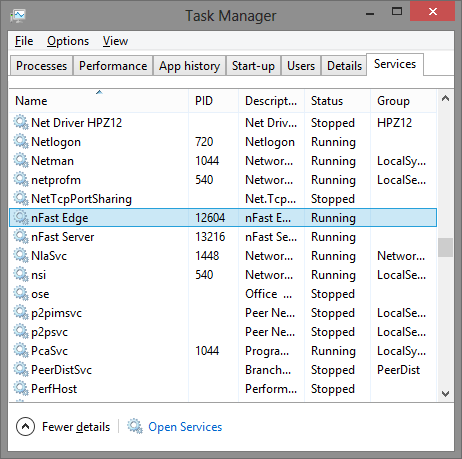
If the above doesn't remedy the situation, then the next step would be to attempt to restart the host services. These should be listed under Task Manager as “nFast Edge” and “nFast Server”:
These services are responsible for your machine establishing communication with the HSM.
If this attempt to recover communication with the device fails, and it remains in a “Failed” state, then further assistance should be sought from the Thales® user guide “nShield_Edge_Solo_User_Guide.pdf”, Thales® own support team, or failing that the SmarterPay support team.
How to Encrypt the connection between the On-Premise server service and Microsoft SQL Server
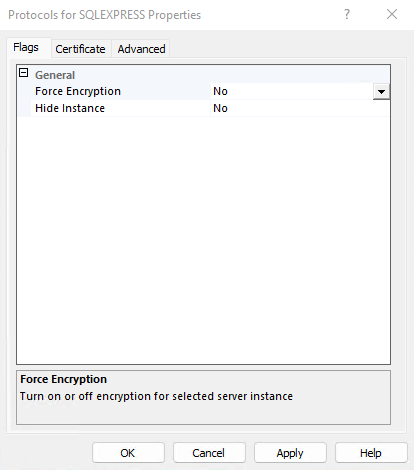
The connection between the On-Premise Server Service and Microsoft SQL Server can be encrypted. This is useful if the the two services are on different server machines.
The way to do this is to:
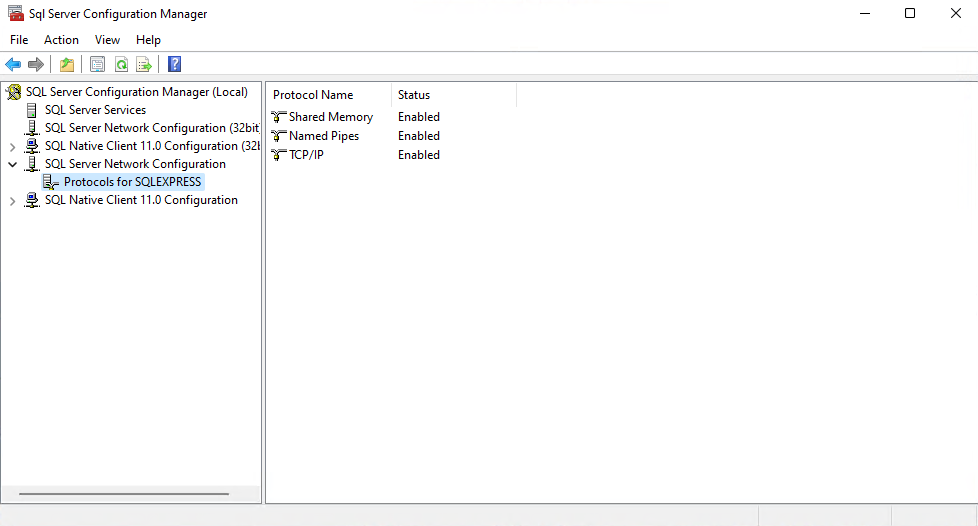
- open the SQL Server Configuration Manager
- Right click on the “Protocols for” entry, under SQL Server Network Configuration, and click on Properties
- Select “Yes” for “Force Encryption”, and apply the change
- Restart the SQL Service, for the change to take effect
